The sound of a leaking tap resonates through your home, echoing with frustration and wasted resources. We’ve all experienced the annoyance of dripping taps—the never-ending drops that seem to mock our attempts to silence them. But beyond the nuisance, there’s a more pressing concern: the steady stream of water flowing down the drain, leaving a dent in our wallets with each passing moment. That’s why the burning question on everyone’s mind is, “How can I fix a dripping tap myself?” While some leaking taps can be resolved with a DIY approach, there are instances when the problem persists despite our best efforts. In such cases, it’s also good to recognise when it’s time to call in a licensed plumber to uncover the hidden cause behind the elusive leaking tap. In this article, we’ll cover everything you need to know about fixing a leaking tap yourself.
Reasons why you may have a leaking tap
Worn-out or damaged washers
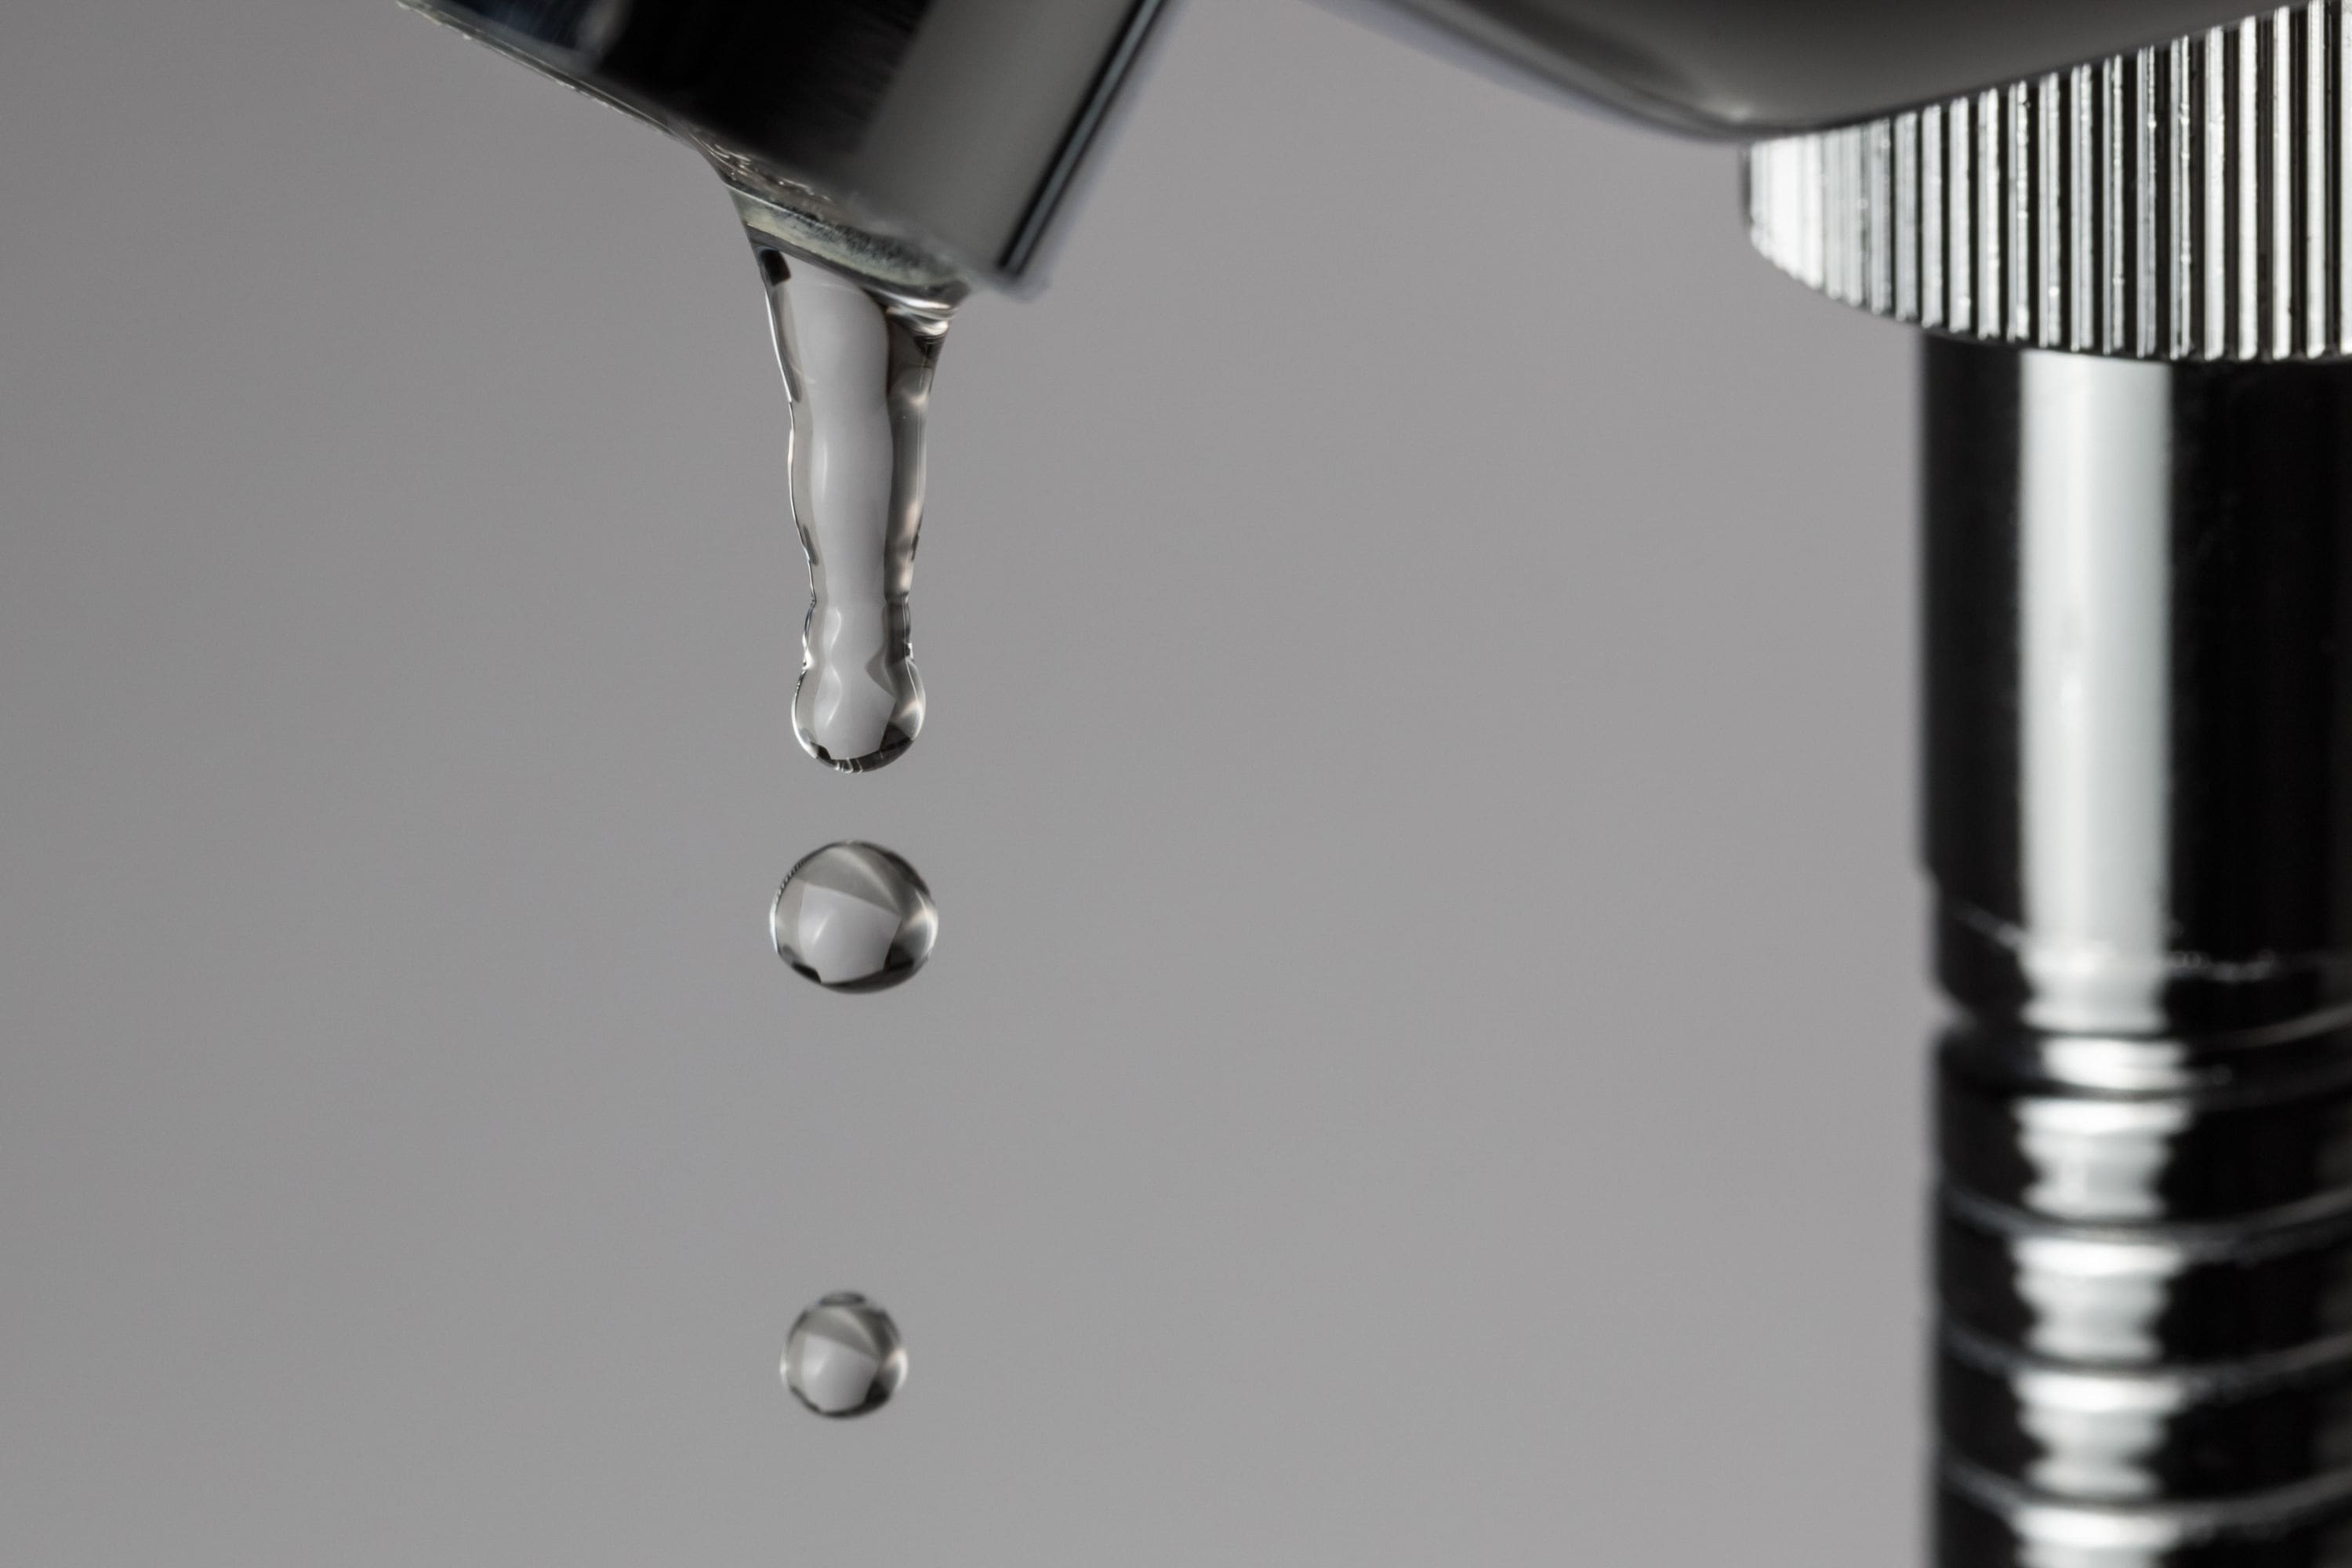
The most common cause of a leaking tap is a worn-out or damaged tap washer. The washer is a small rubber or plastic seal located inside the tap handle that prevents water from flowing when the tap is closed. Over time, the constant turning on and off of the tap can cause the washer to wear out, resulting in a leaking tap.
Loose or damaged components
Taps have various components such as o-rings, seals, washer and jumper valves that can become loose or damaged over time. If any of these components are worn or improperly installed, they can cause a leaking tap.
High water pressure
Excessive water pressure can cause leaking taps. When the water pressure is too high, it puts extra strain on the tap’s internal components, leading to a leaking tap. A pressure regulator can be installed to control the water pressure and prevent damage.
Corrosion and mineral buildup
Over time, minerals and sediment present in the water (otherwise known as hard water) can accumulate inside the tap, leading to corrosion or blockages. This can cause leaks by interfering with the proper functioning of the tap’s components. Most taps in Perth will be affected by mineral build up so it’s important to regularly clean your taps from debris to avoid build up that’s difficult to remove.
Improper installation
If a tap is not installed correctly, it can result in leaks. This could be due to loose connections, improper sealing, or incorrect assembly of the tap components.
Cracked or damaged pipes
In some cases, a leaking tap may not be directly related to the tap itself but could indicate a problem with the plumbing pipes. Cracked or damaged pipes can cause water to leak at the tap connection point.
Excessive wear and tear
Taps undergo regular use, and the wear and tear over time can contribute to leaks. If a tap is old or has been used extensively, it may be more prone to leaking.
The tools you need to fix a dripping tap
Now that you have an understanding of what causes a leaking tap, it’s time to gather up the tools you need from your local hardware store. Chances are you’ll likely need the following:
Screwdriver
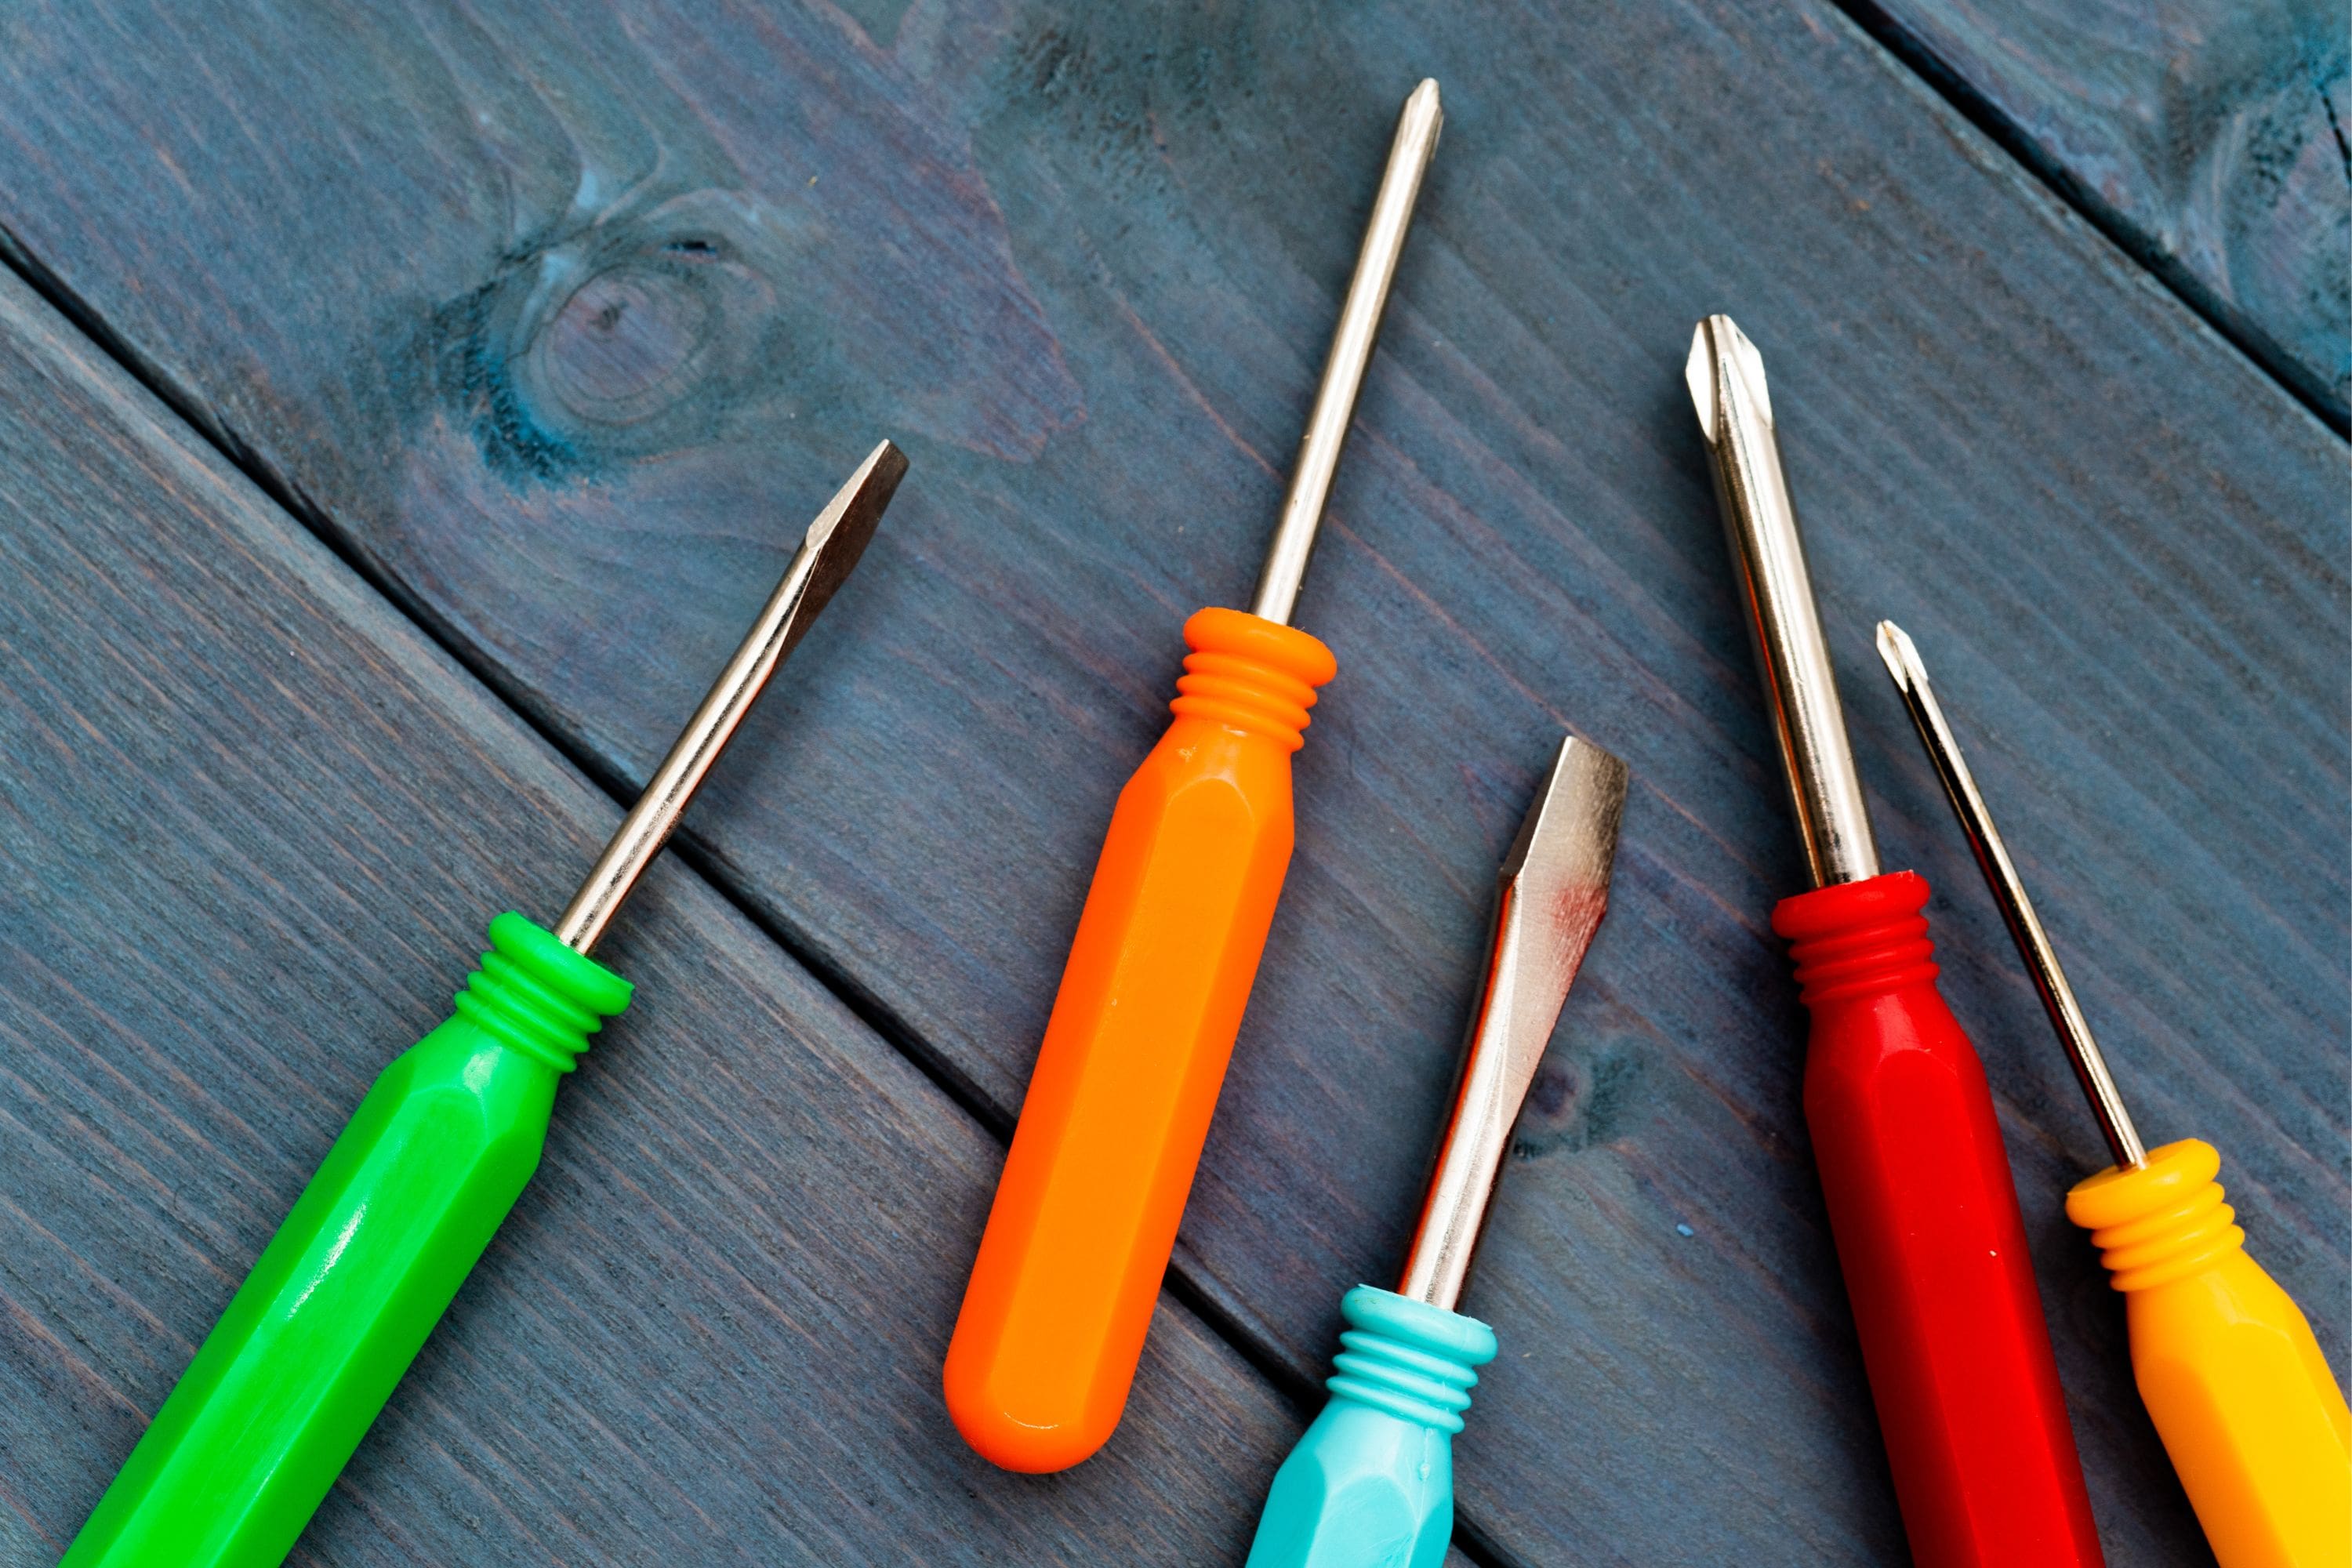
A set of screwdrivers, both flathead and Phillips, will come in handy for removing screws and disassembling parts of the tap.
Pliers
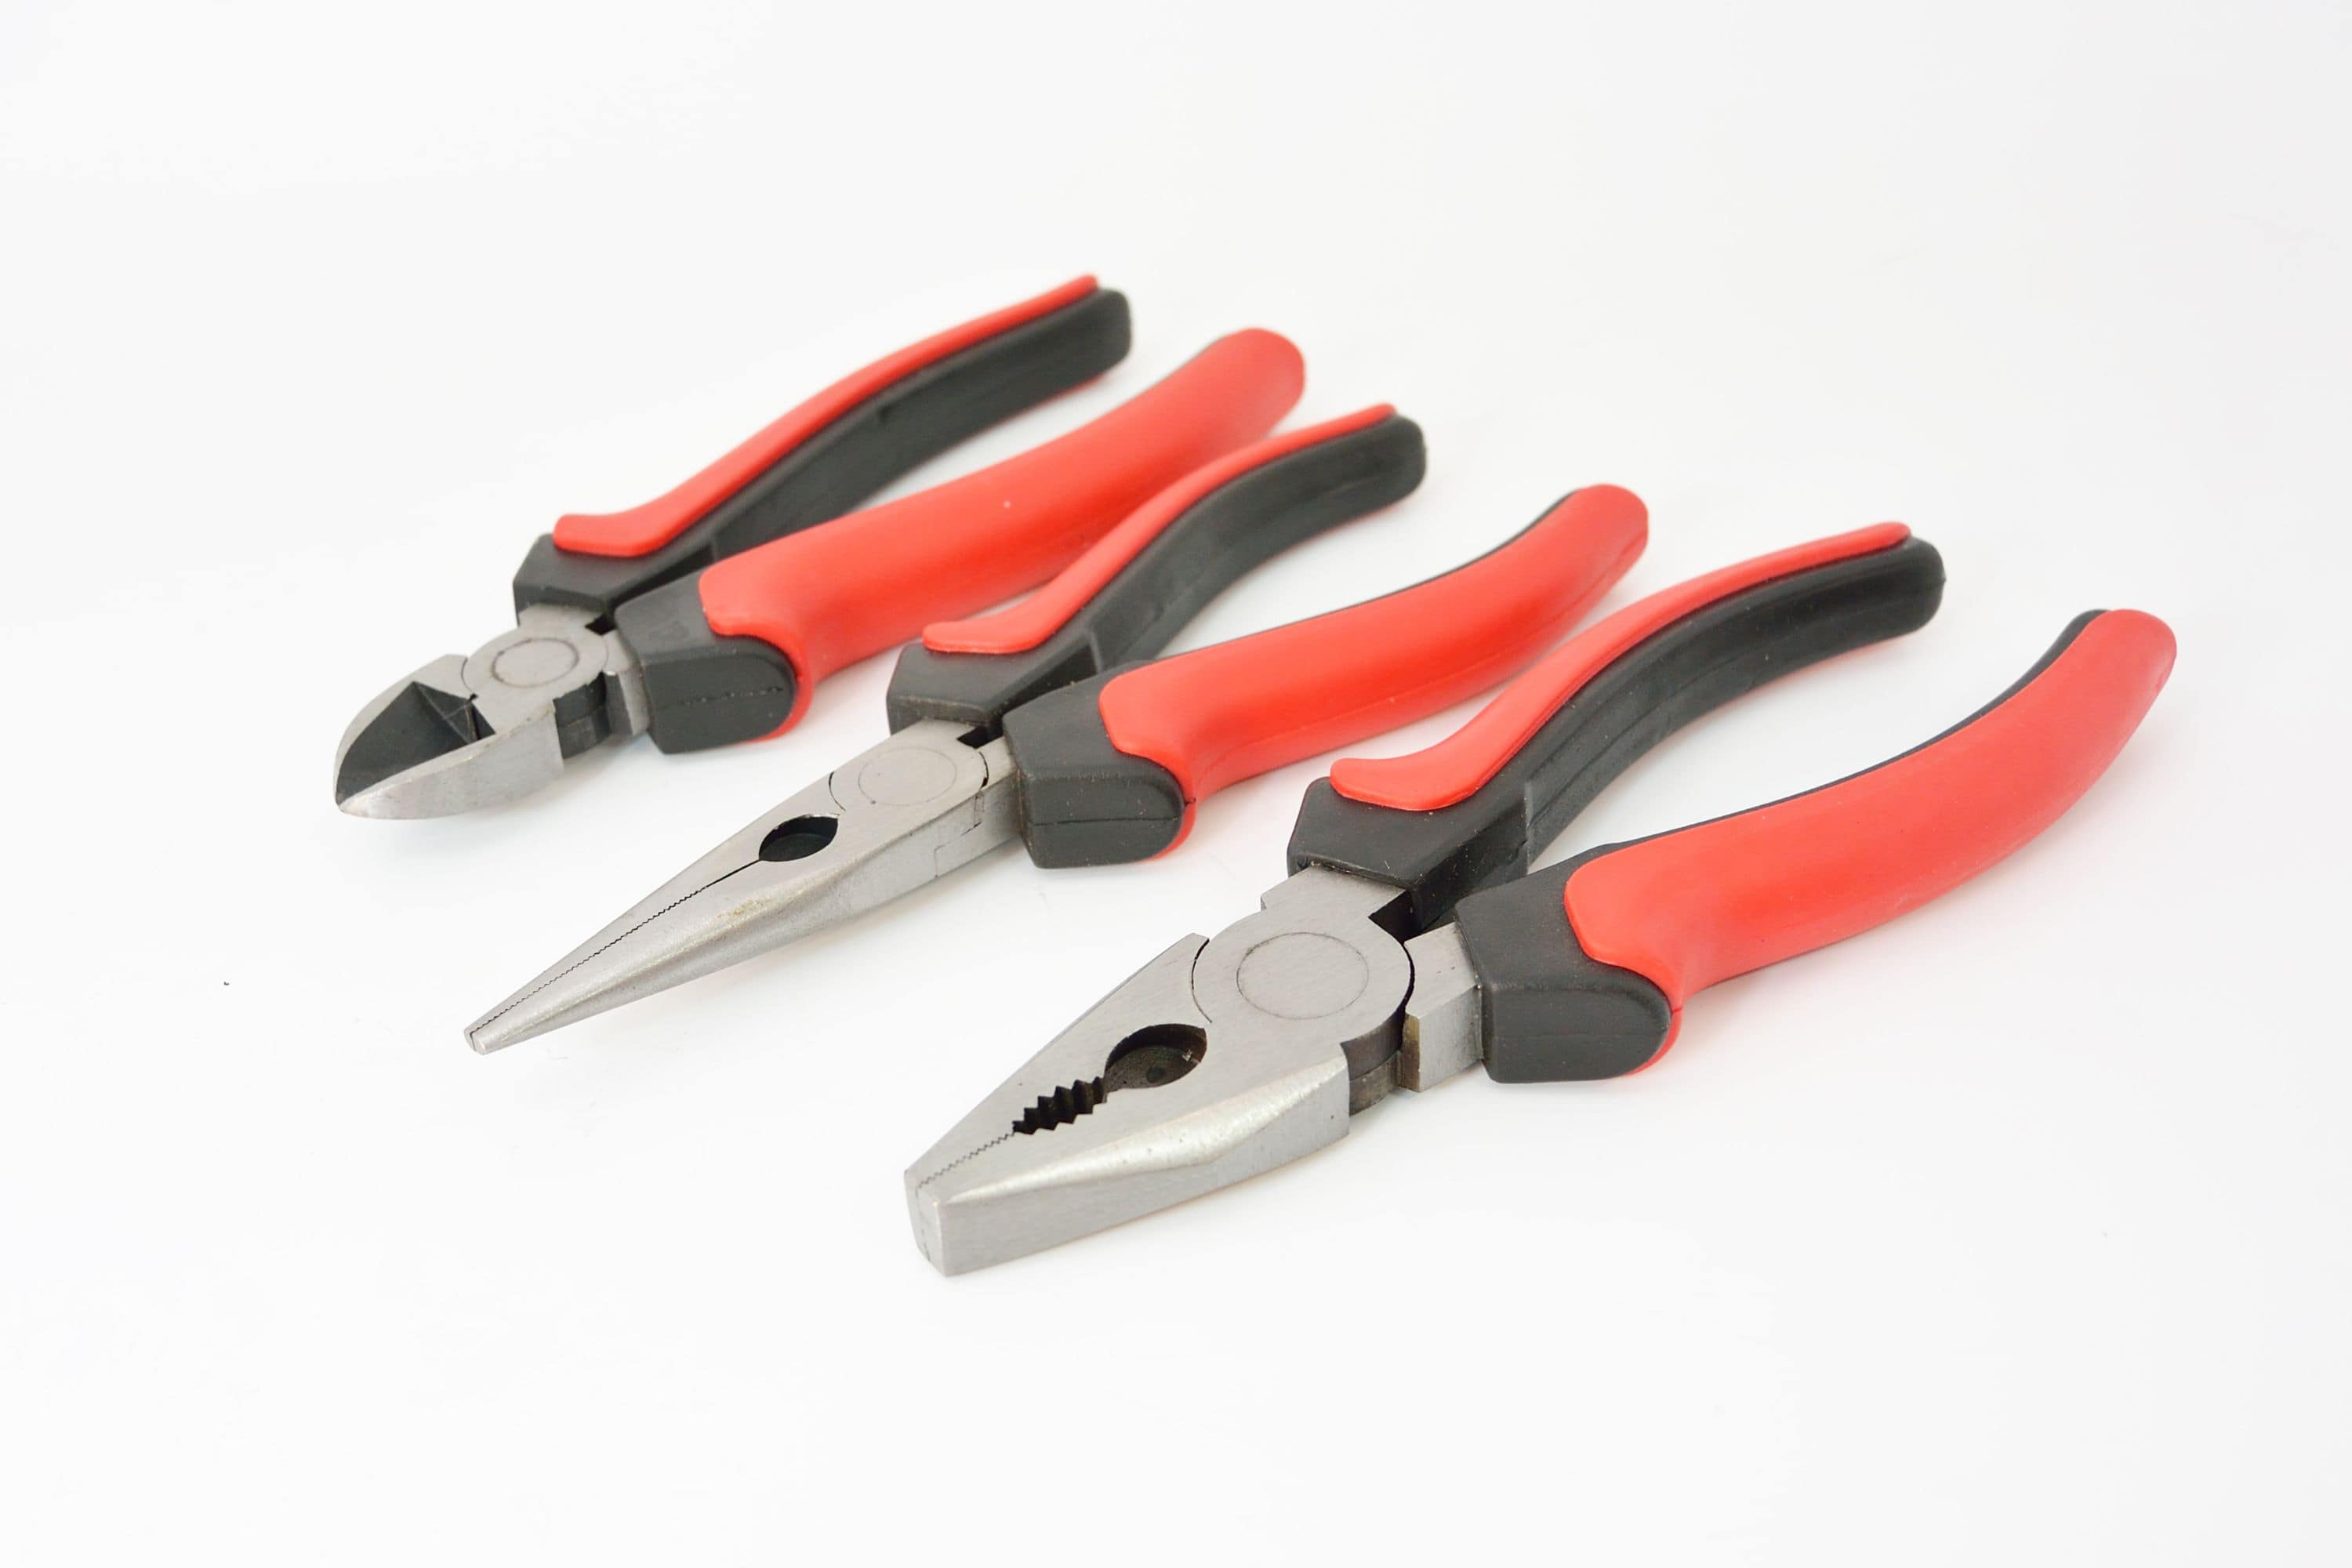
Pliers, such as slip-joint pliers or adjustable pliers, can assist in gripping and holding small parts securely while you work on the tap.
Allen key
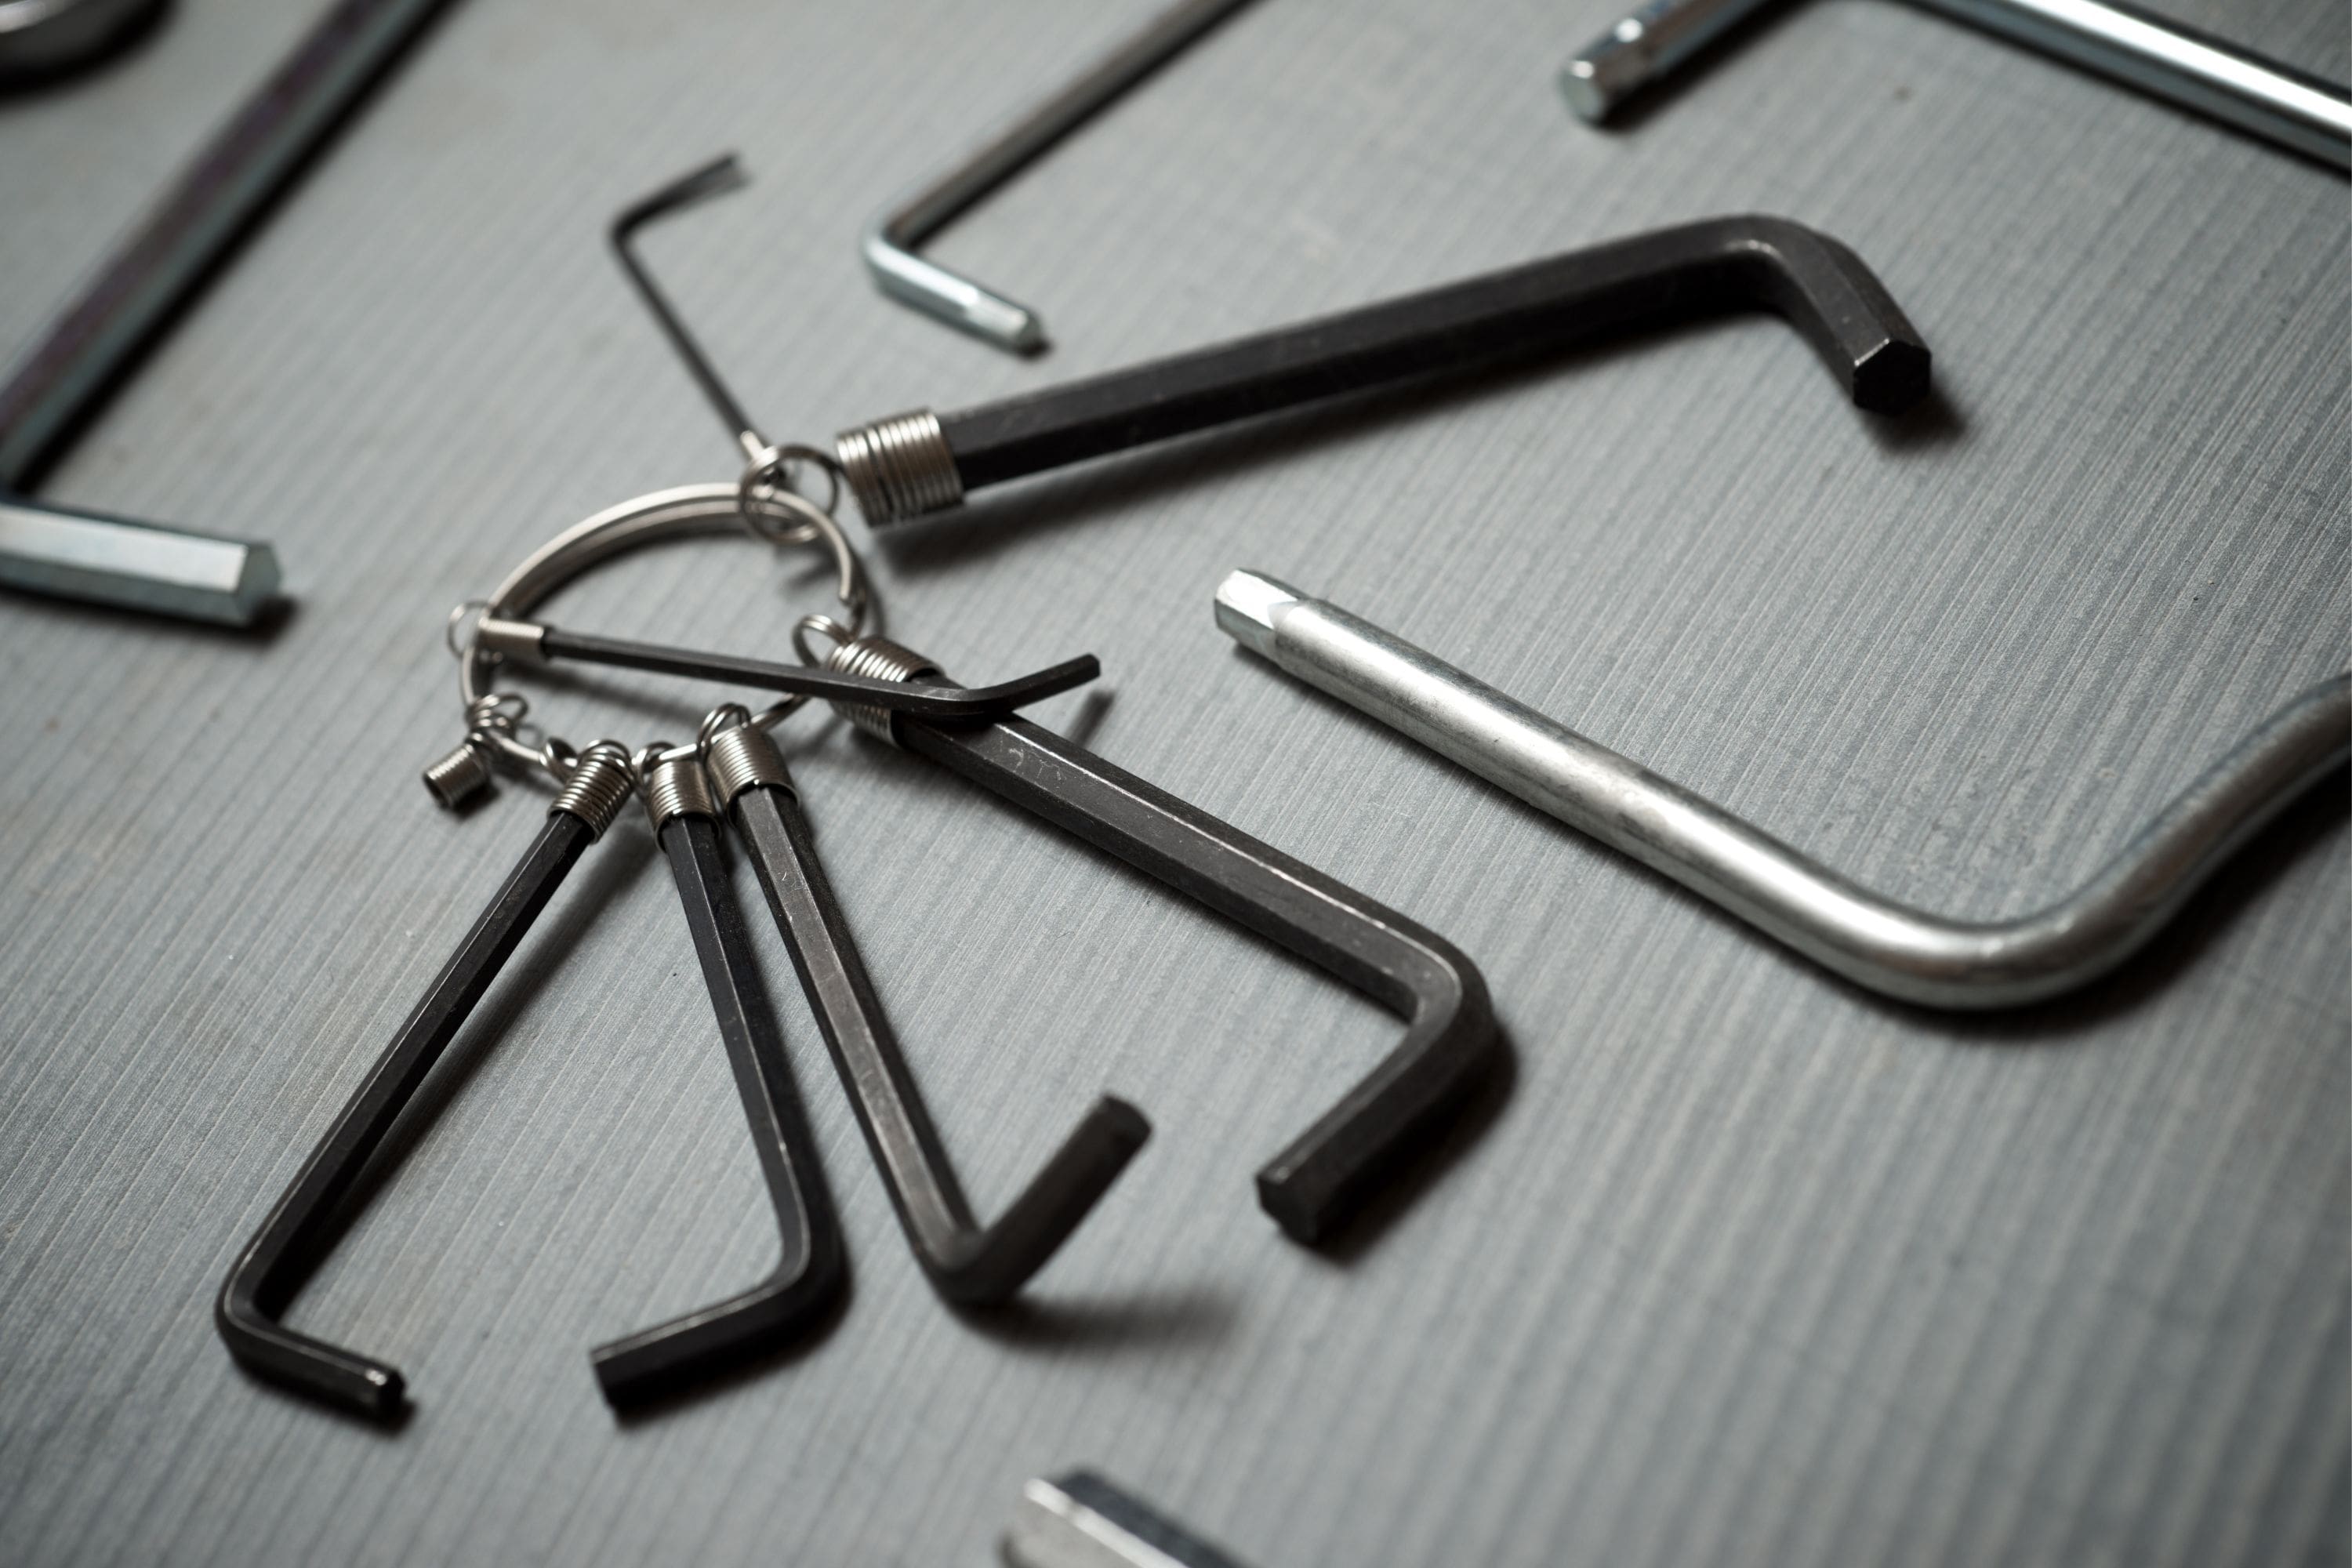
Some taps, especially modern ones, may have hexagonal or Allen key screws. Having an Allen key set will enable you to loosen or tighten these screws.
Spanner or basin wrench
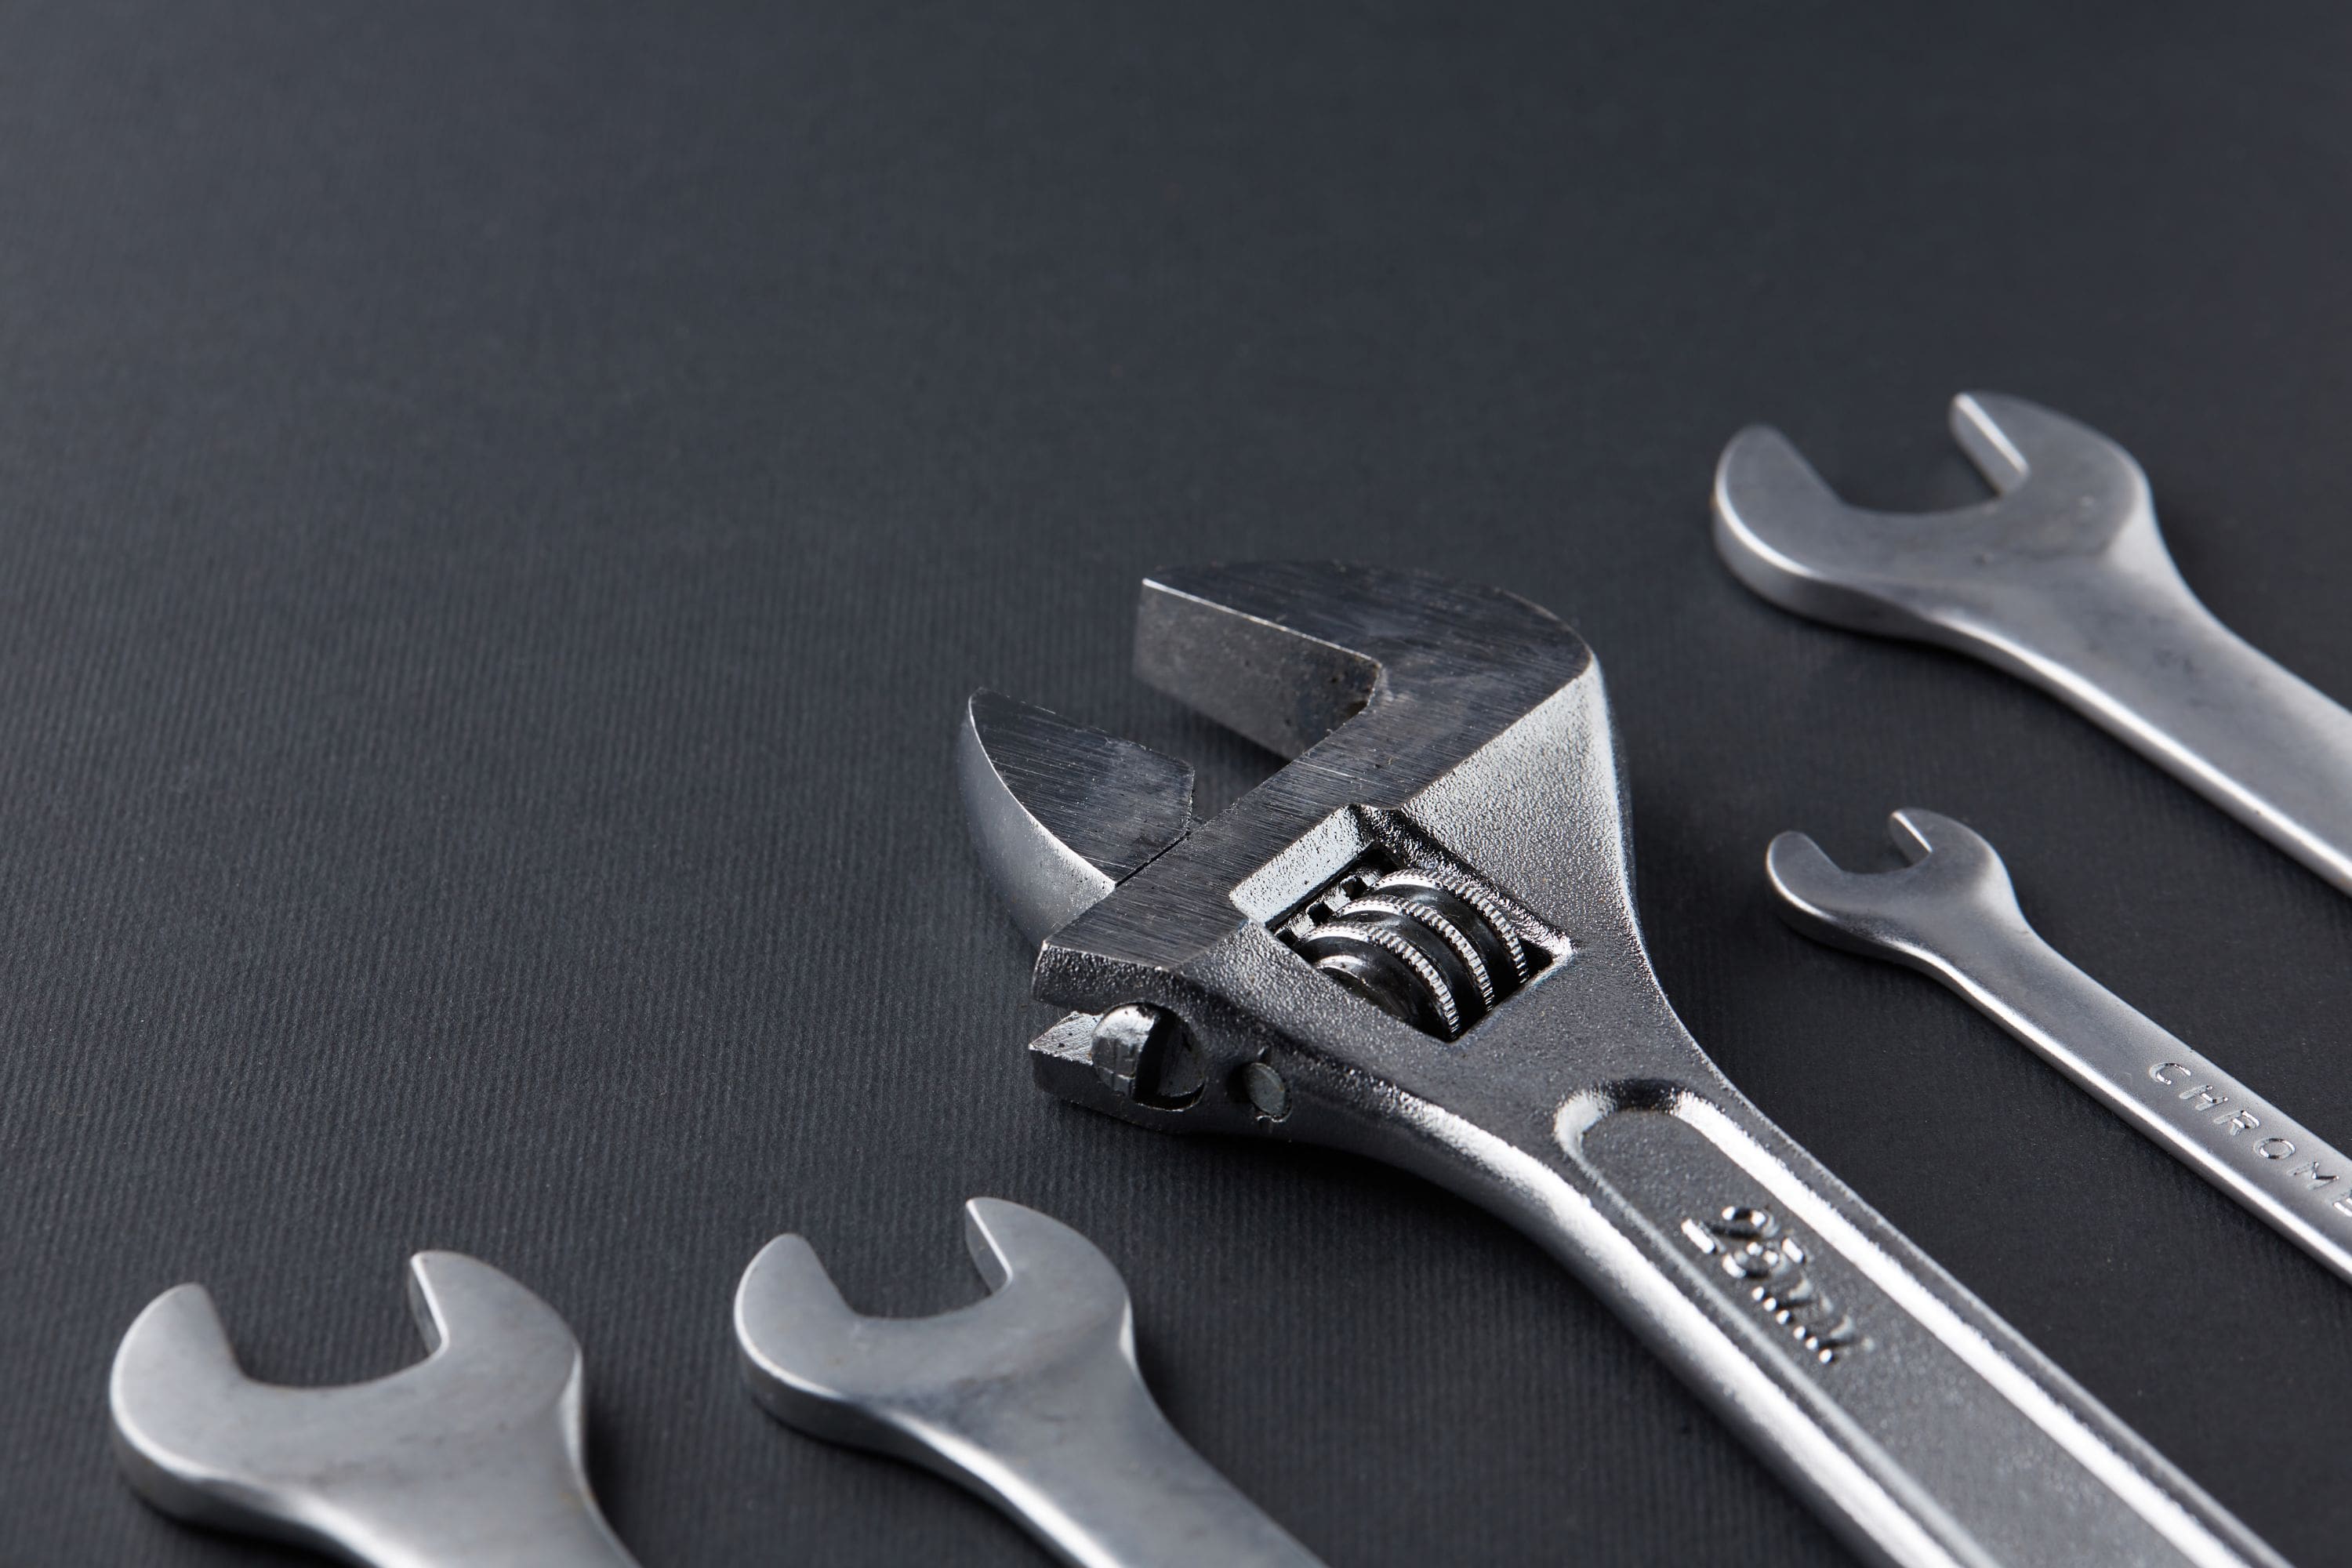
A spanner or a specialised basin wrench can be useful for accessing and turning hard-to-reach nuts under the sink or basin.
Washer assortment
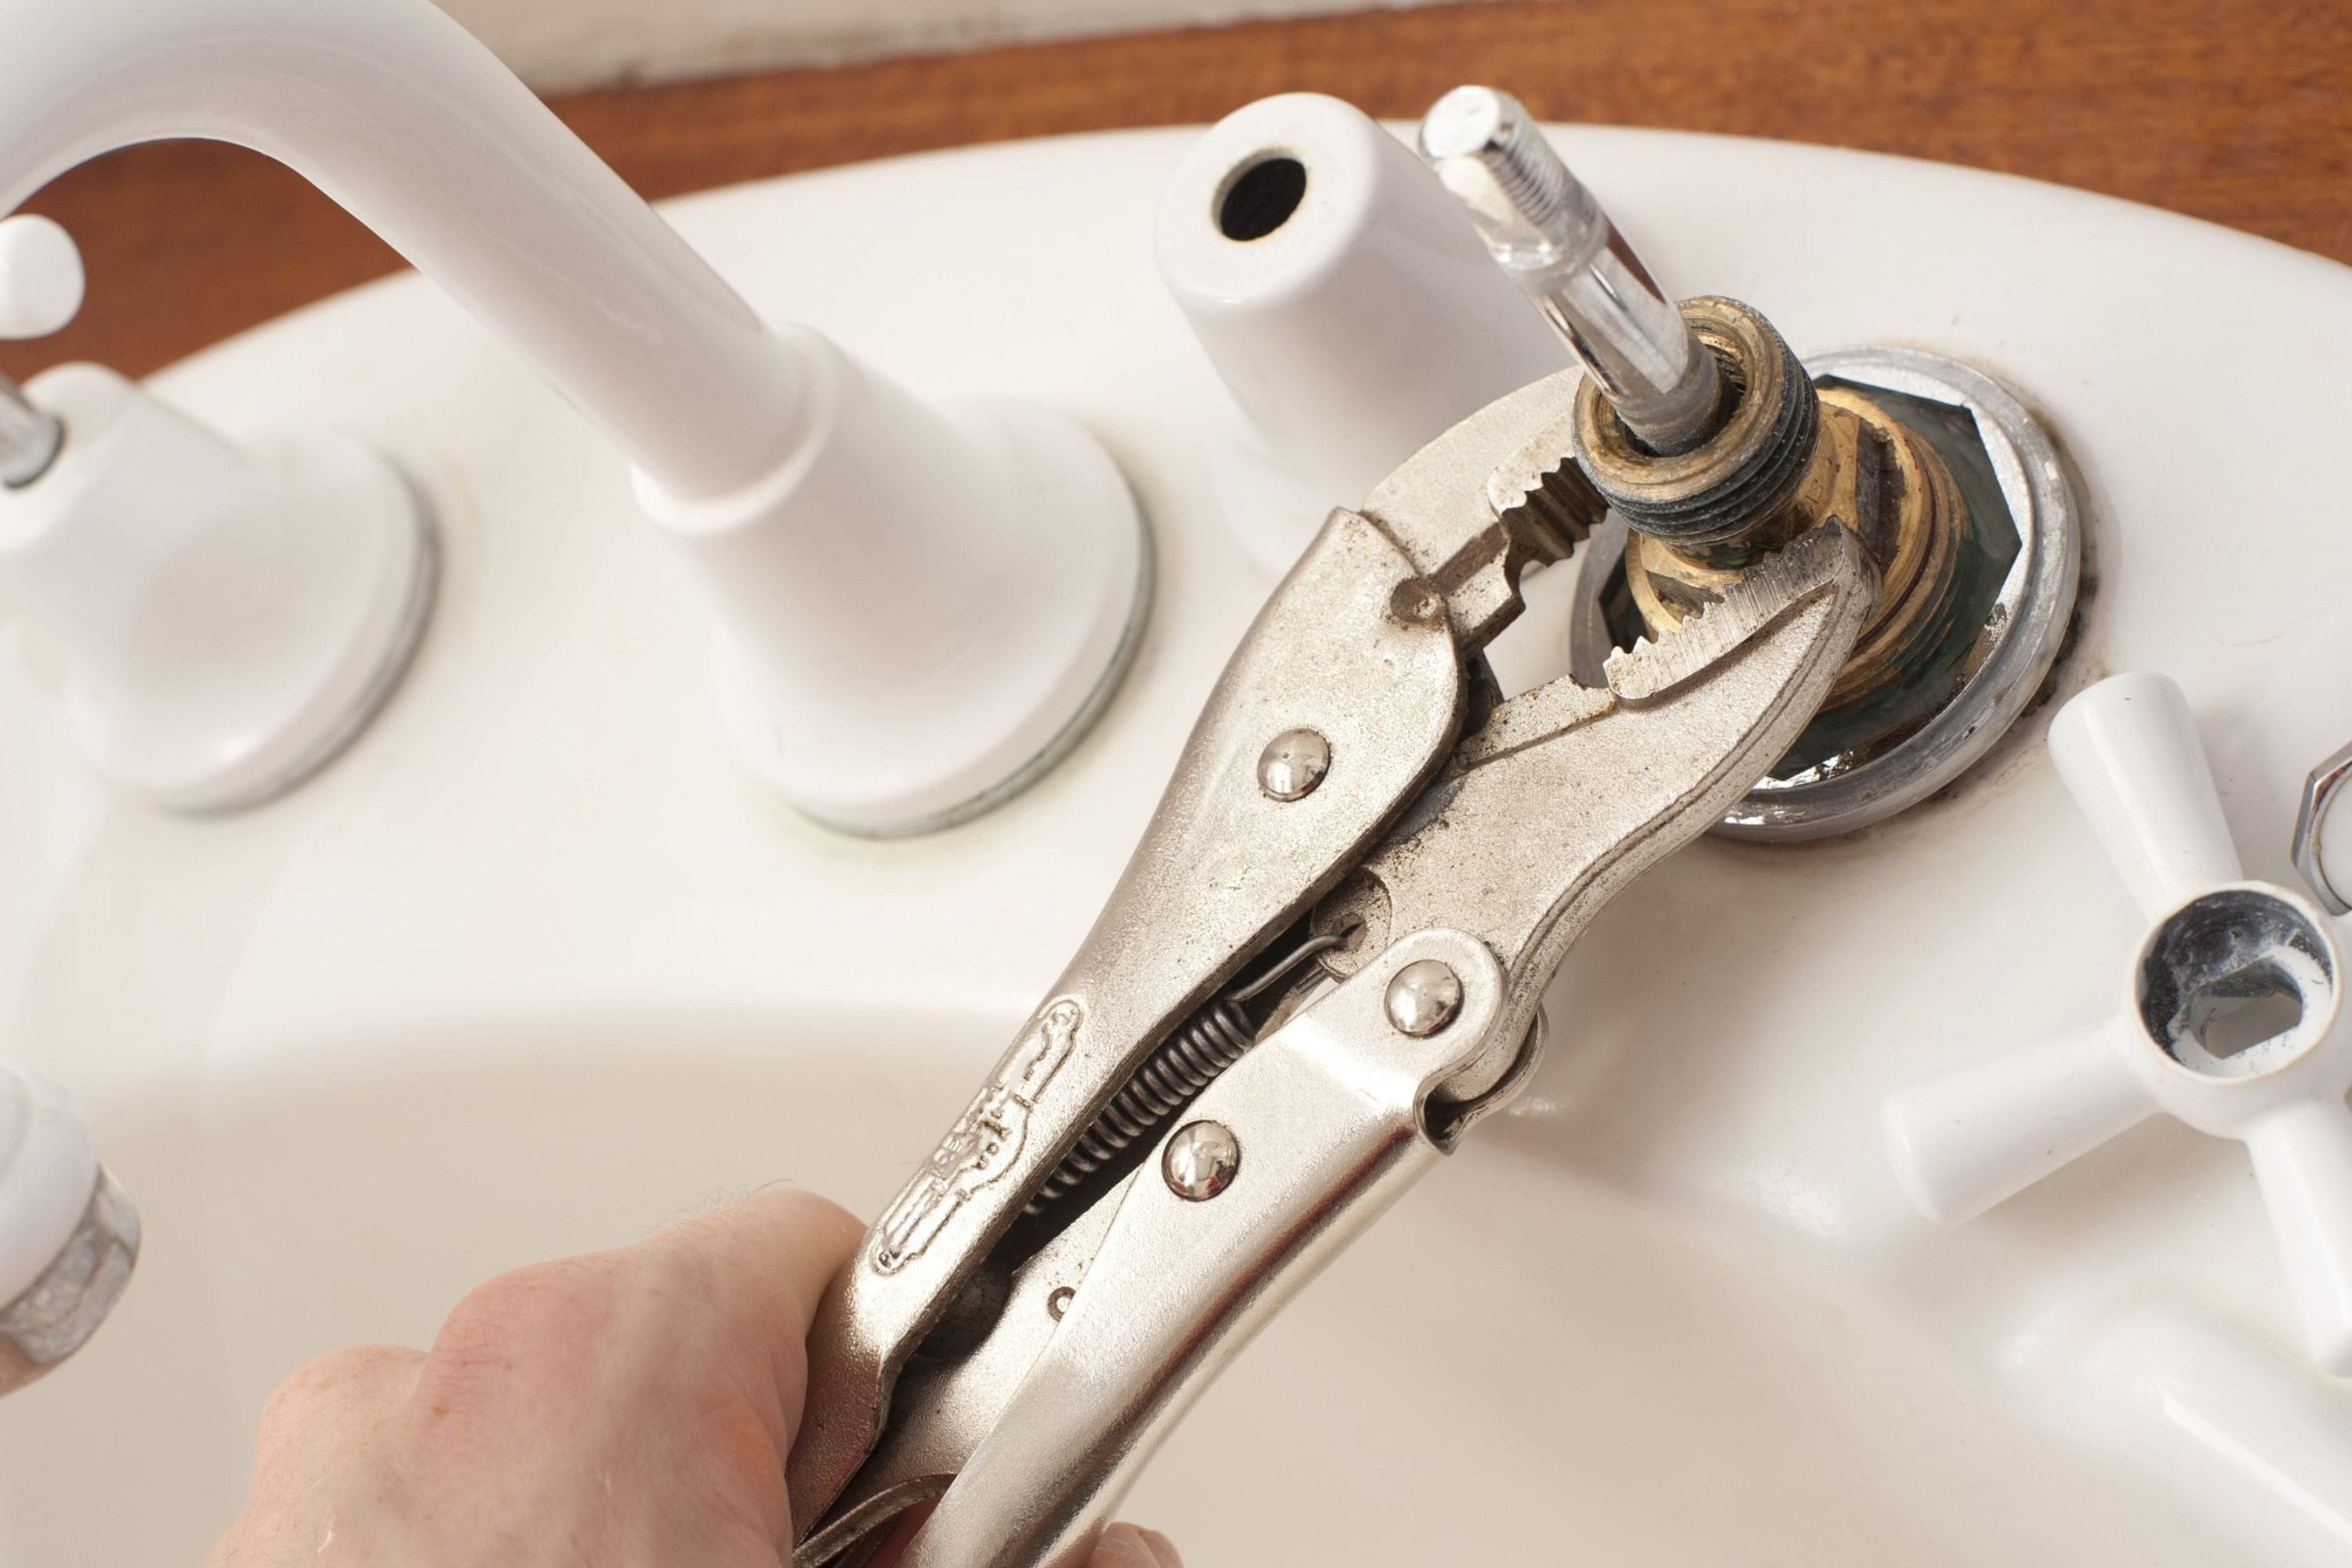
It’s a good idea to have a variety of washers on hand since worn-out or damaged washers are often the culprit behind tap leaks. Make sure you have the correct size and type of washer for your specific tap.
Plumbers tape
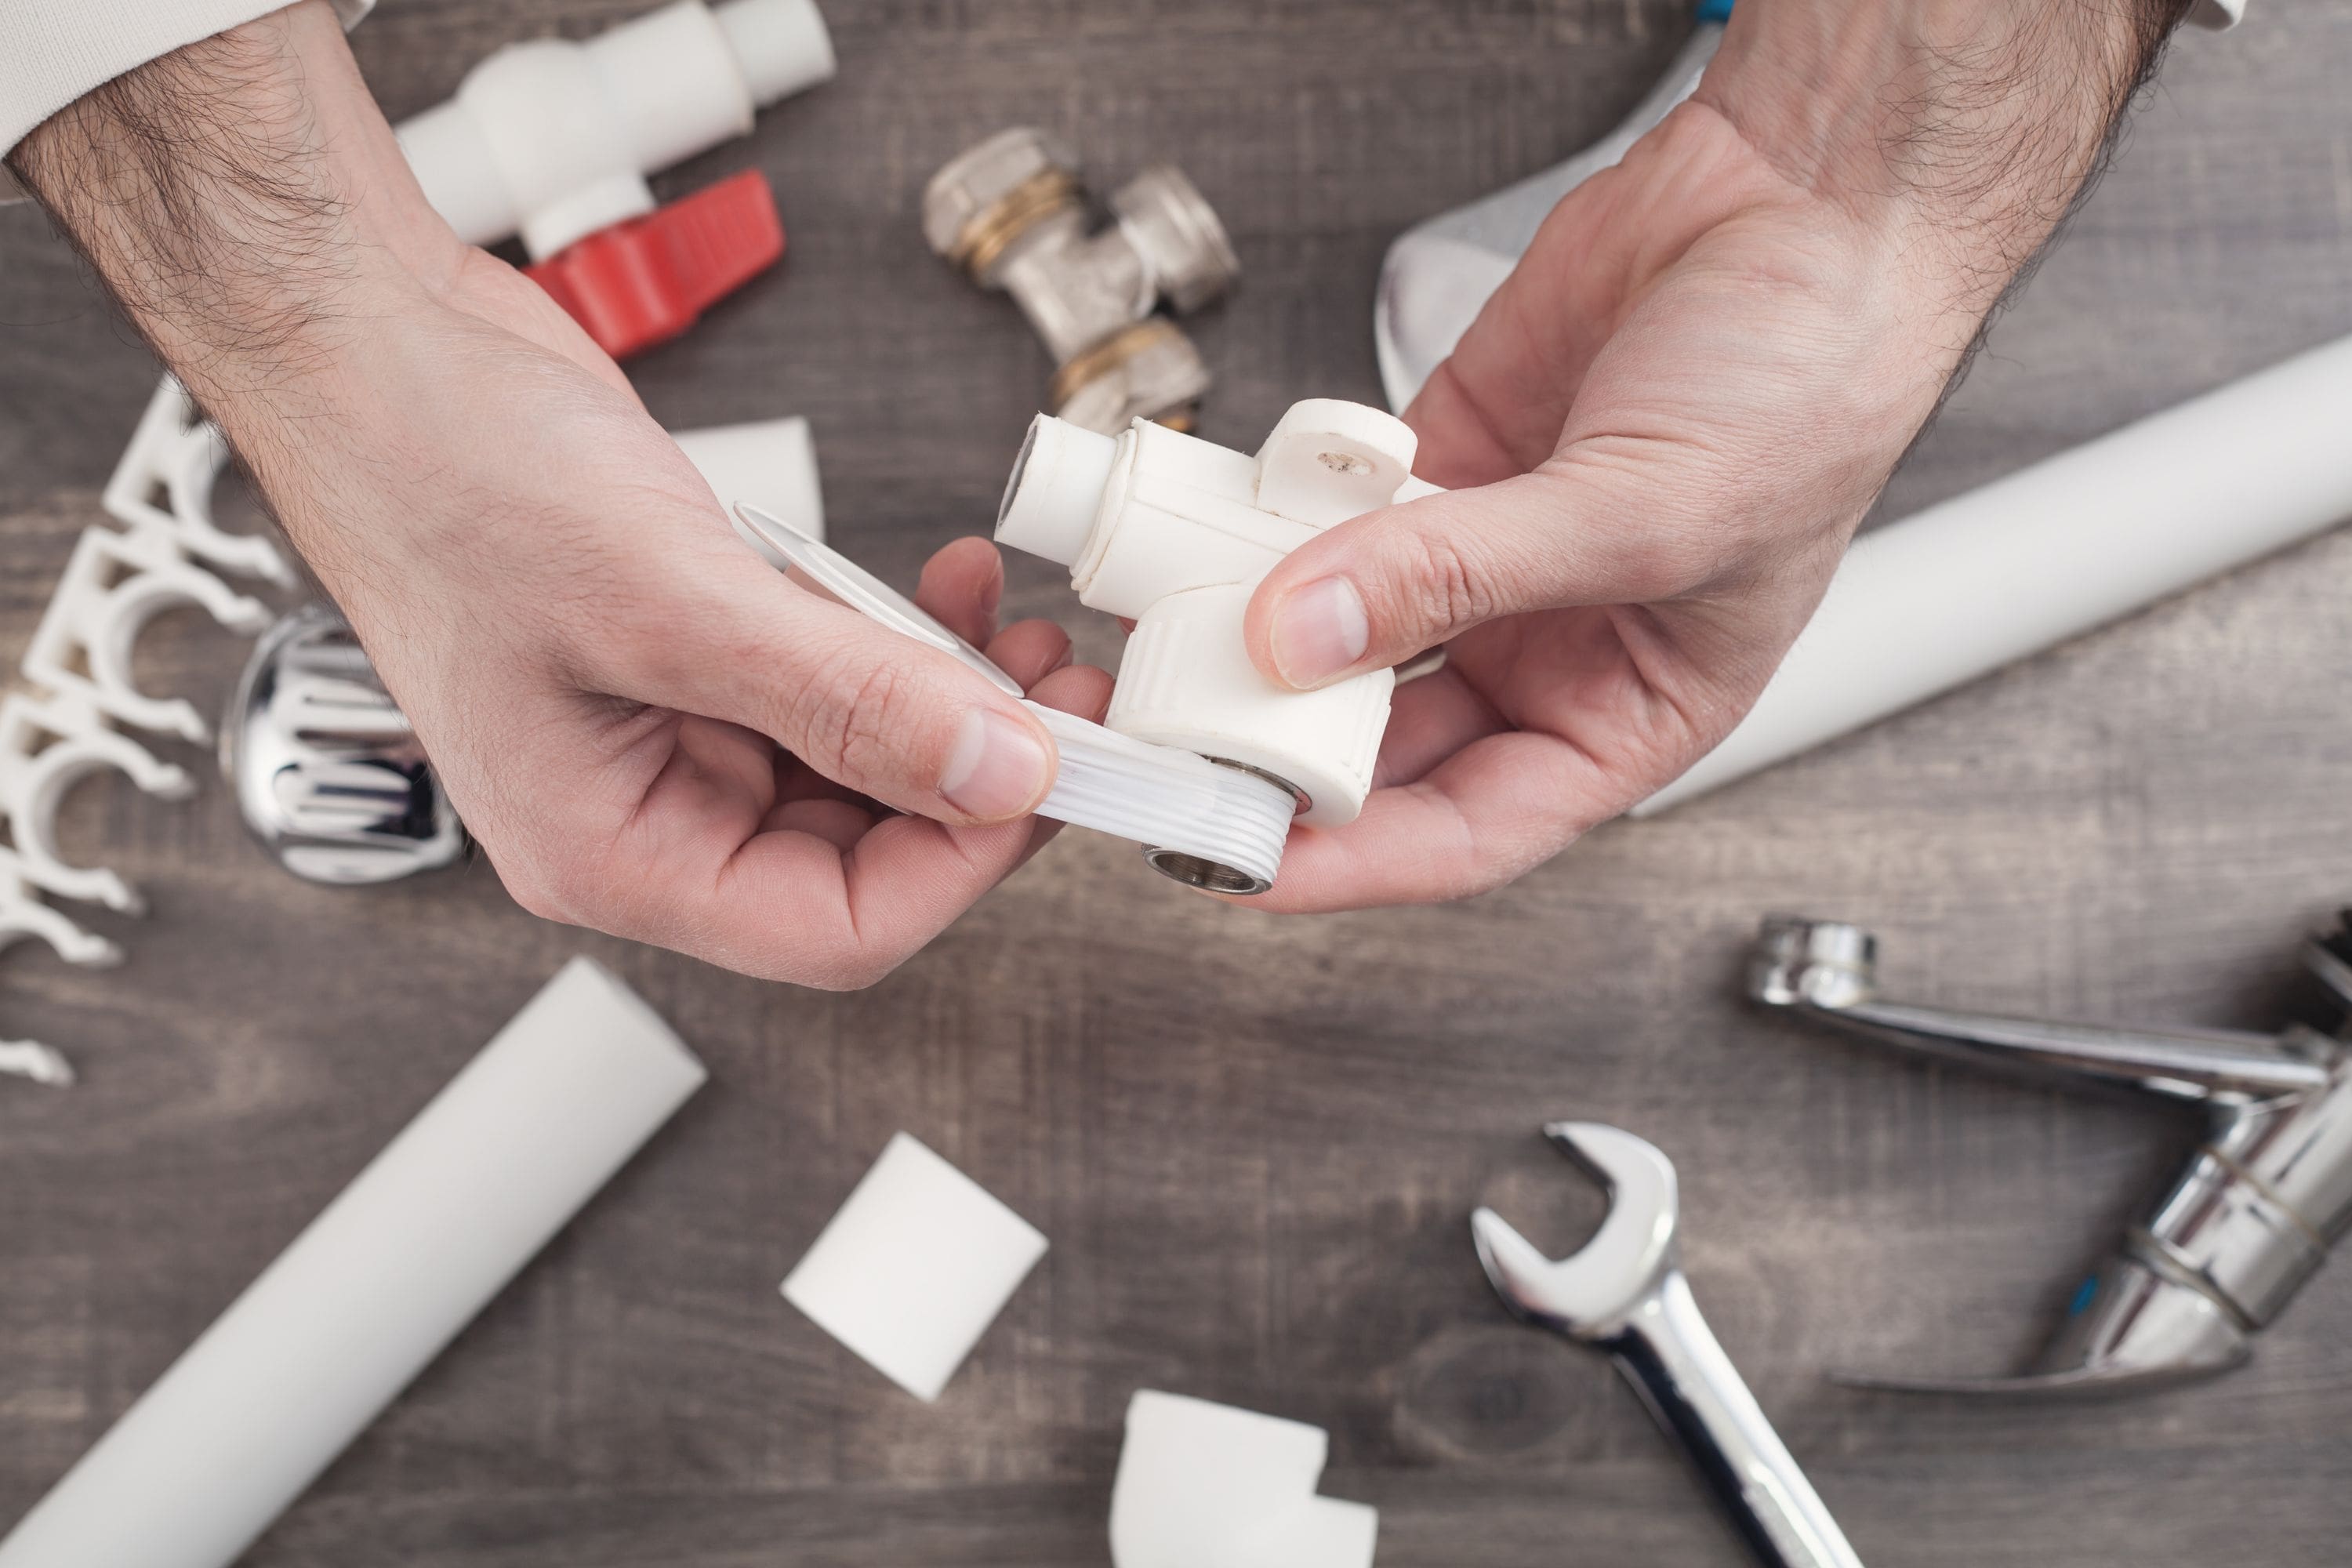
Plumbers tape, also known as thread seal tape, is used to create a watertight seal on threaded connections. It can be applied to the threaded parts of the tap to prevent leaks.
O-ring lubricant or plumber’s grease
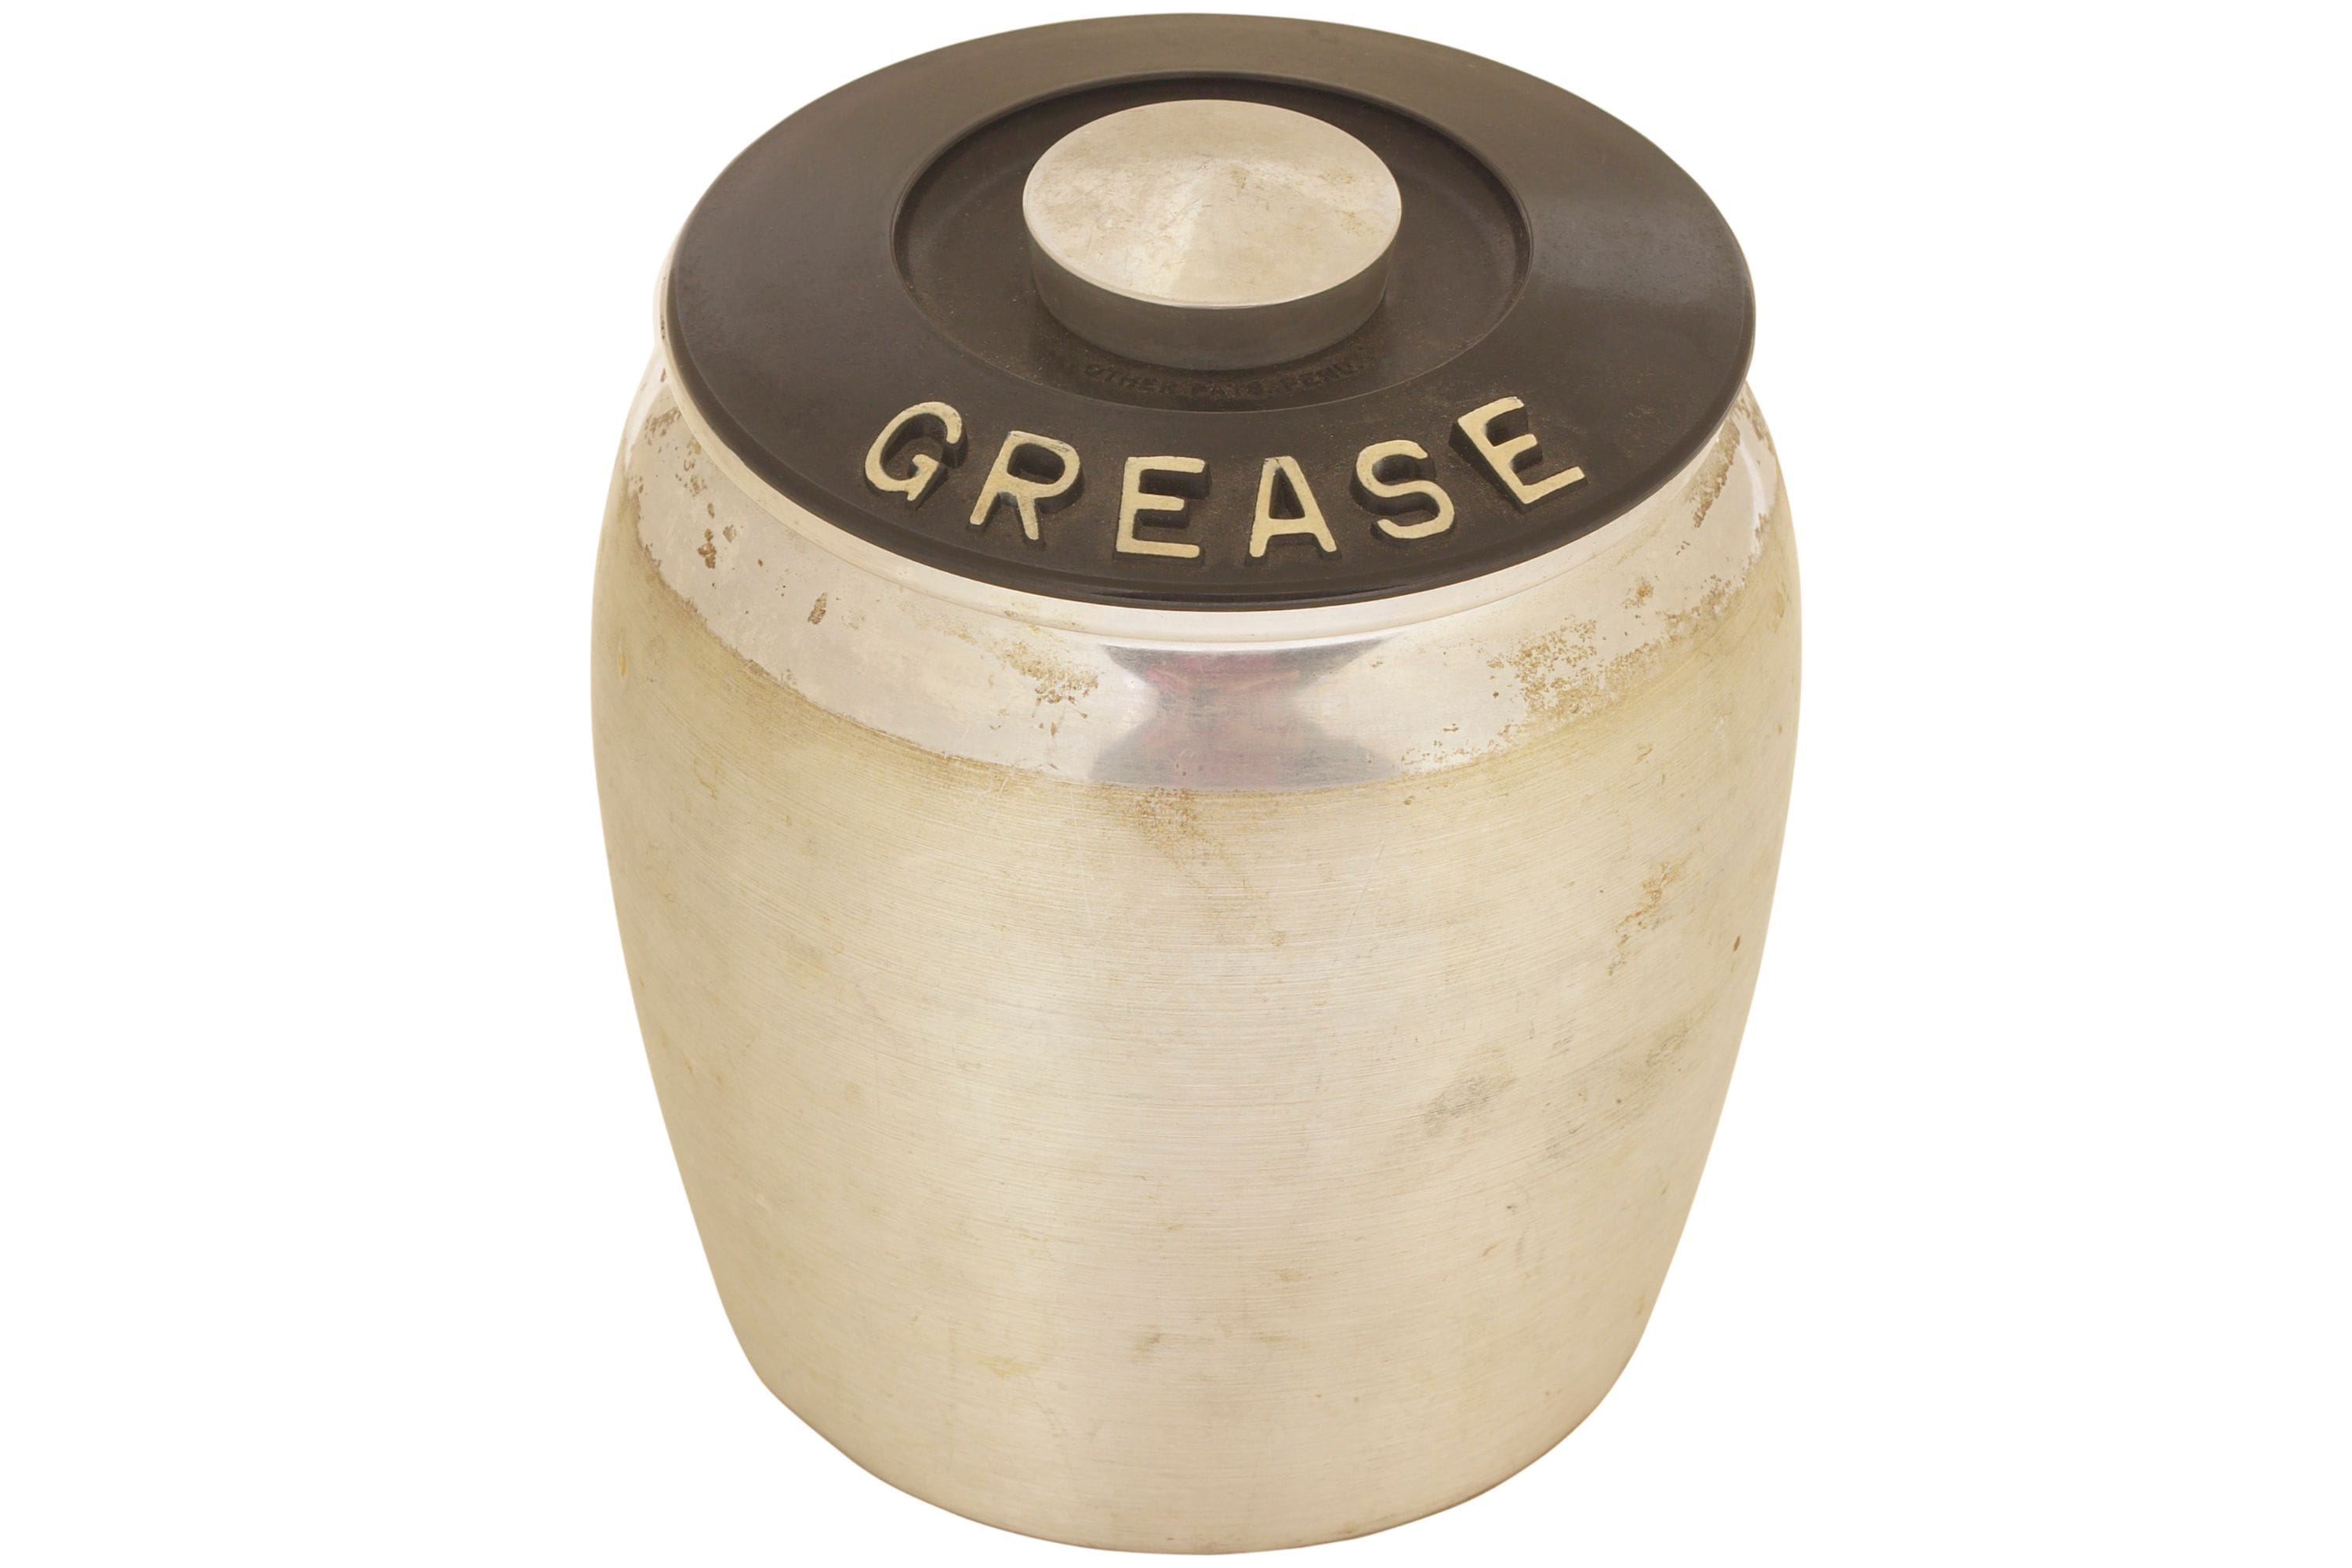
If your tap has o-rings, lubricating them with o-ring lubricant can make it easier to assemble and disassemble the tap while reducing the risk of damage.
The steps to fixing a leaking tap
Step 1. Turn off the water supply
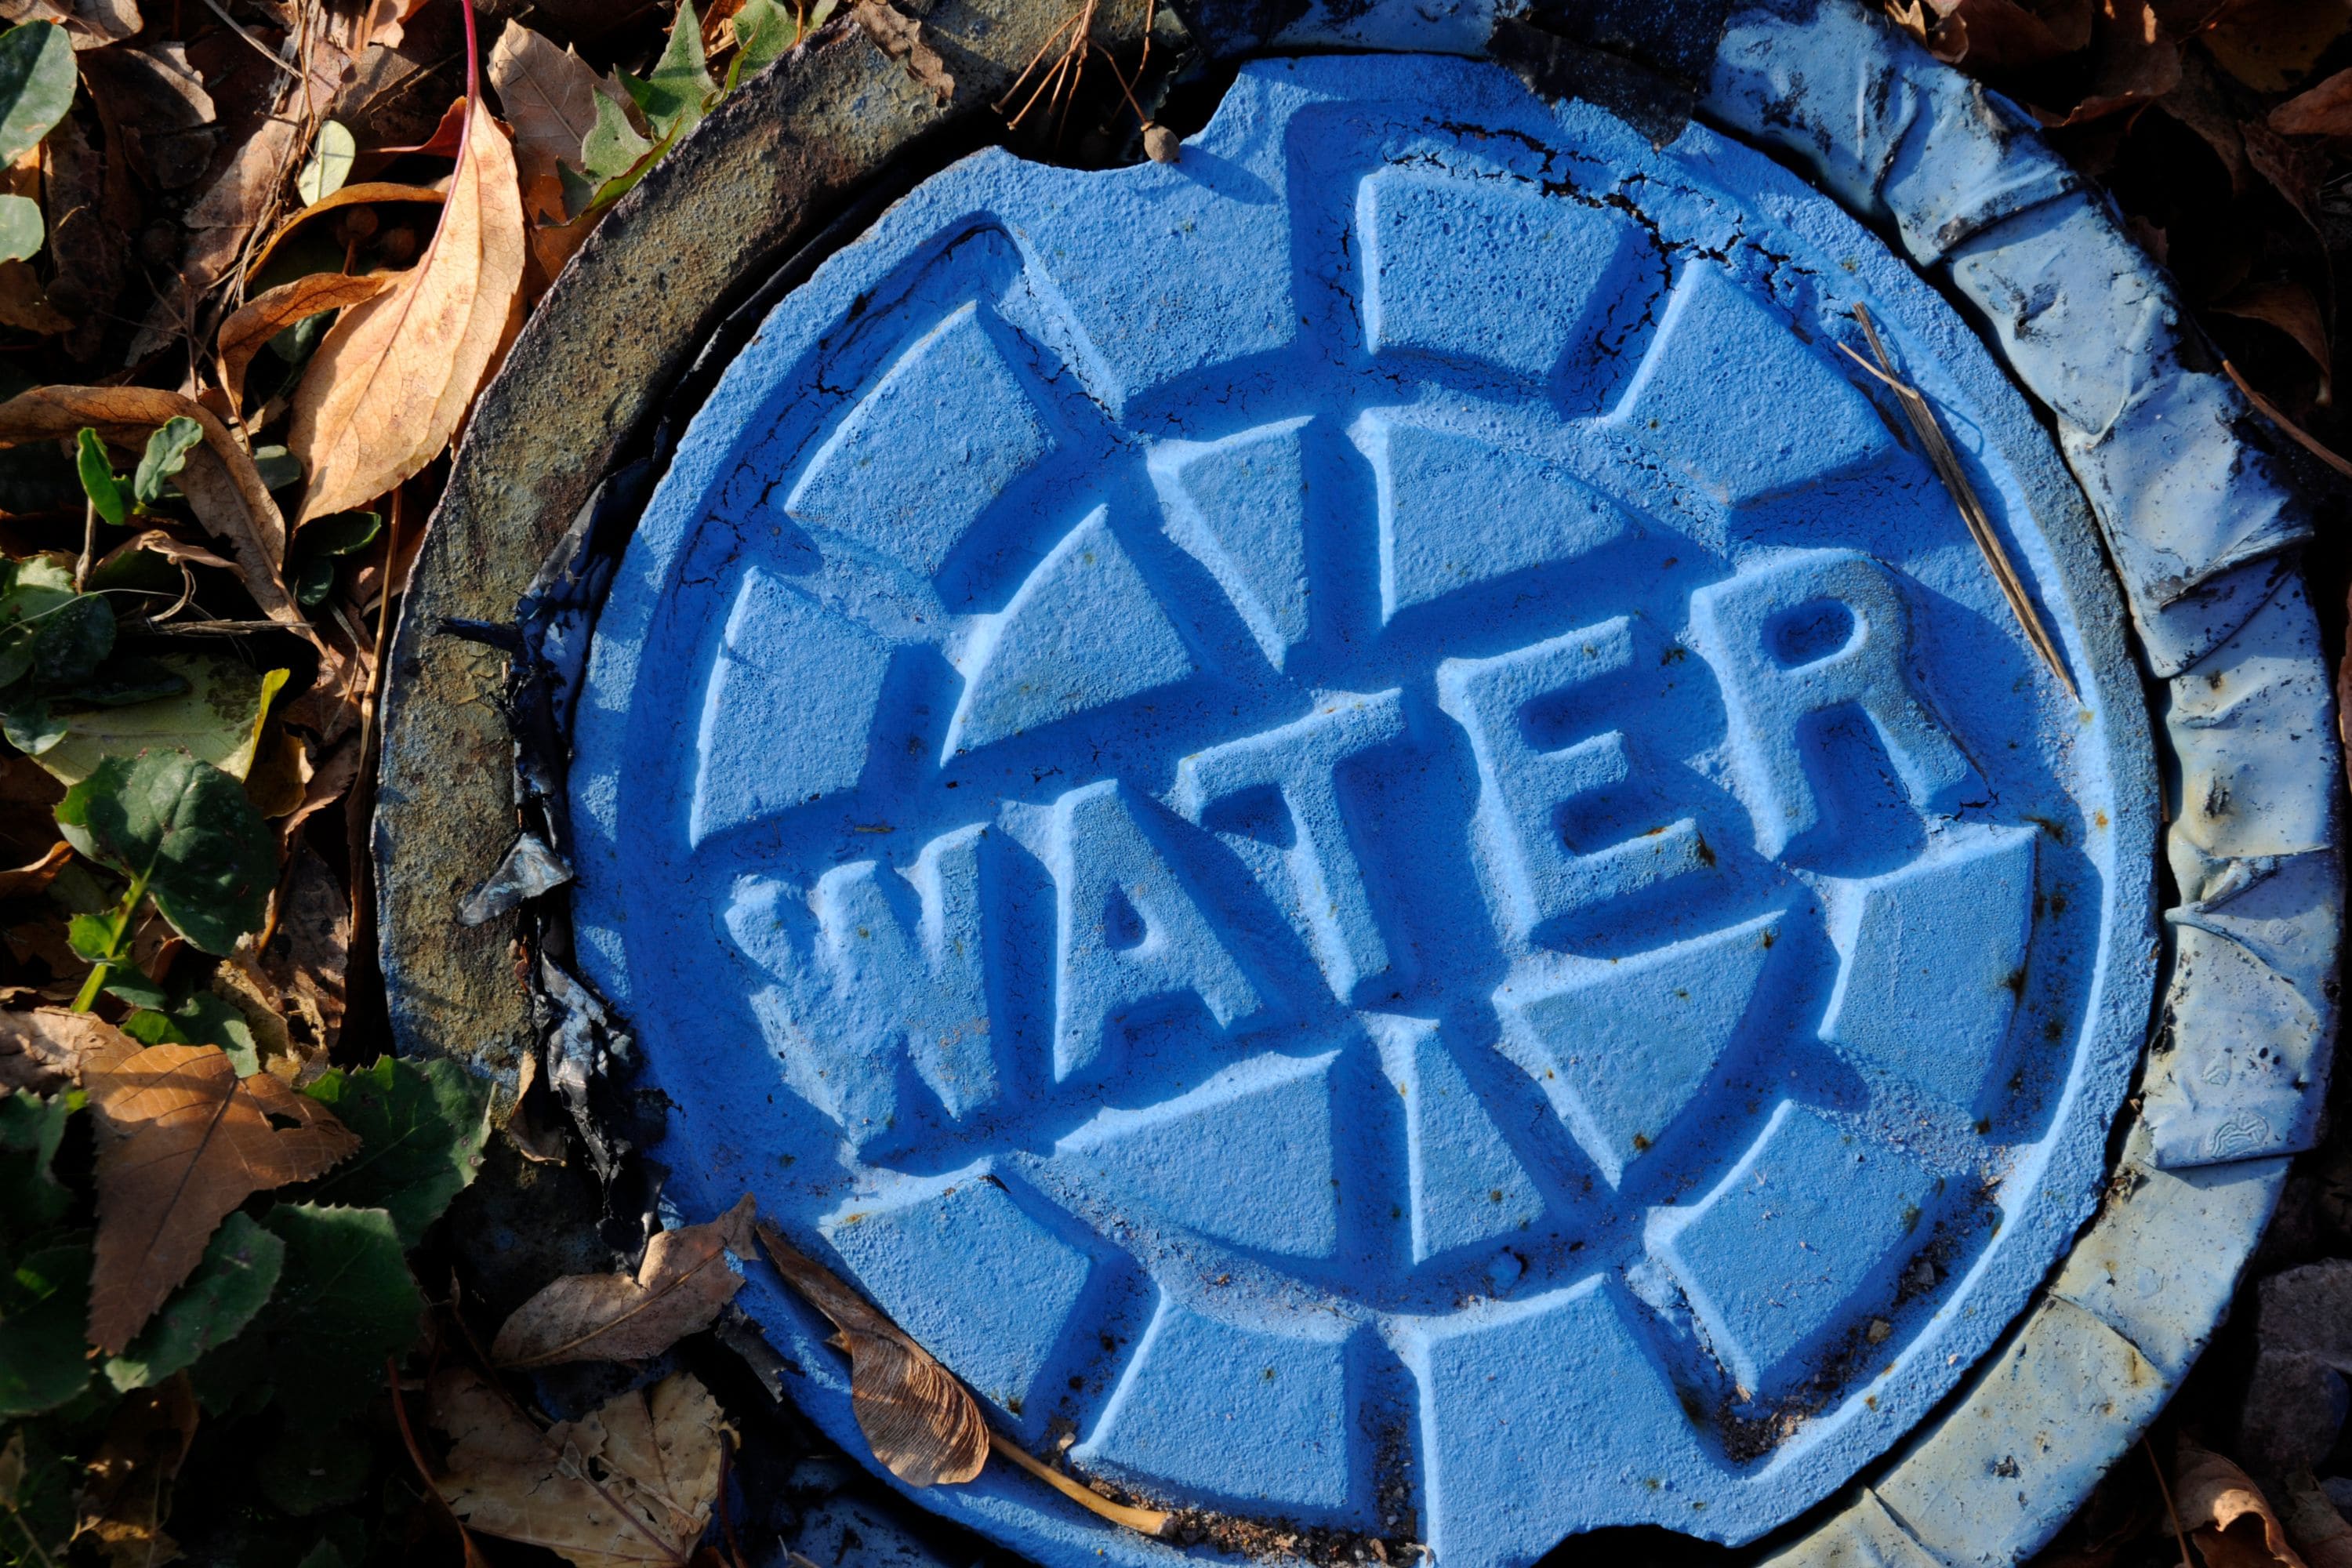
Before you begin any work, it’s important to turn off the water supply to the tap. Look for the isolation valve under the sink or basin and shut it off. If you can’t find an isolation valve, you may need to turn off the main water supply for your home. Don’t overlook this step. Turning off the water supply is essential when fixing a leaking tap to prevent accidents and water damage. It ensures a safe working environment and prevents water from flowing while you disassemble and repair the tap.
Step 2. Disassemble the tap
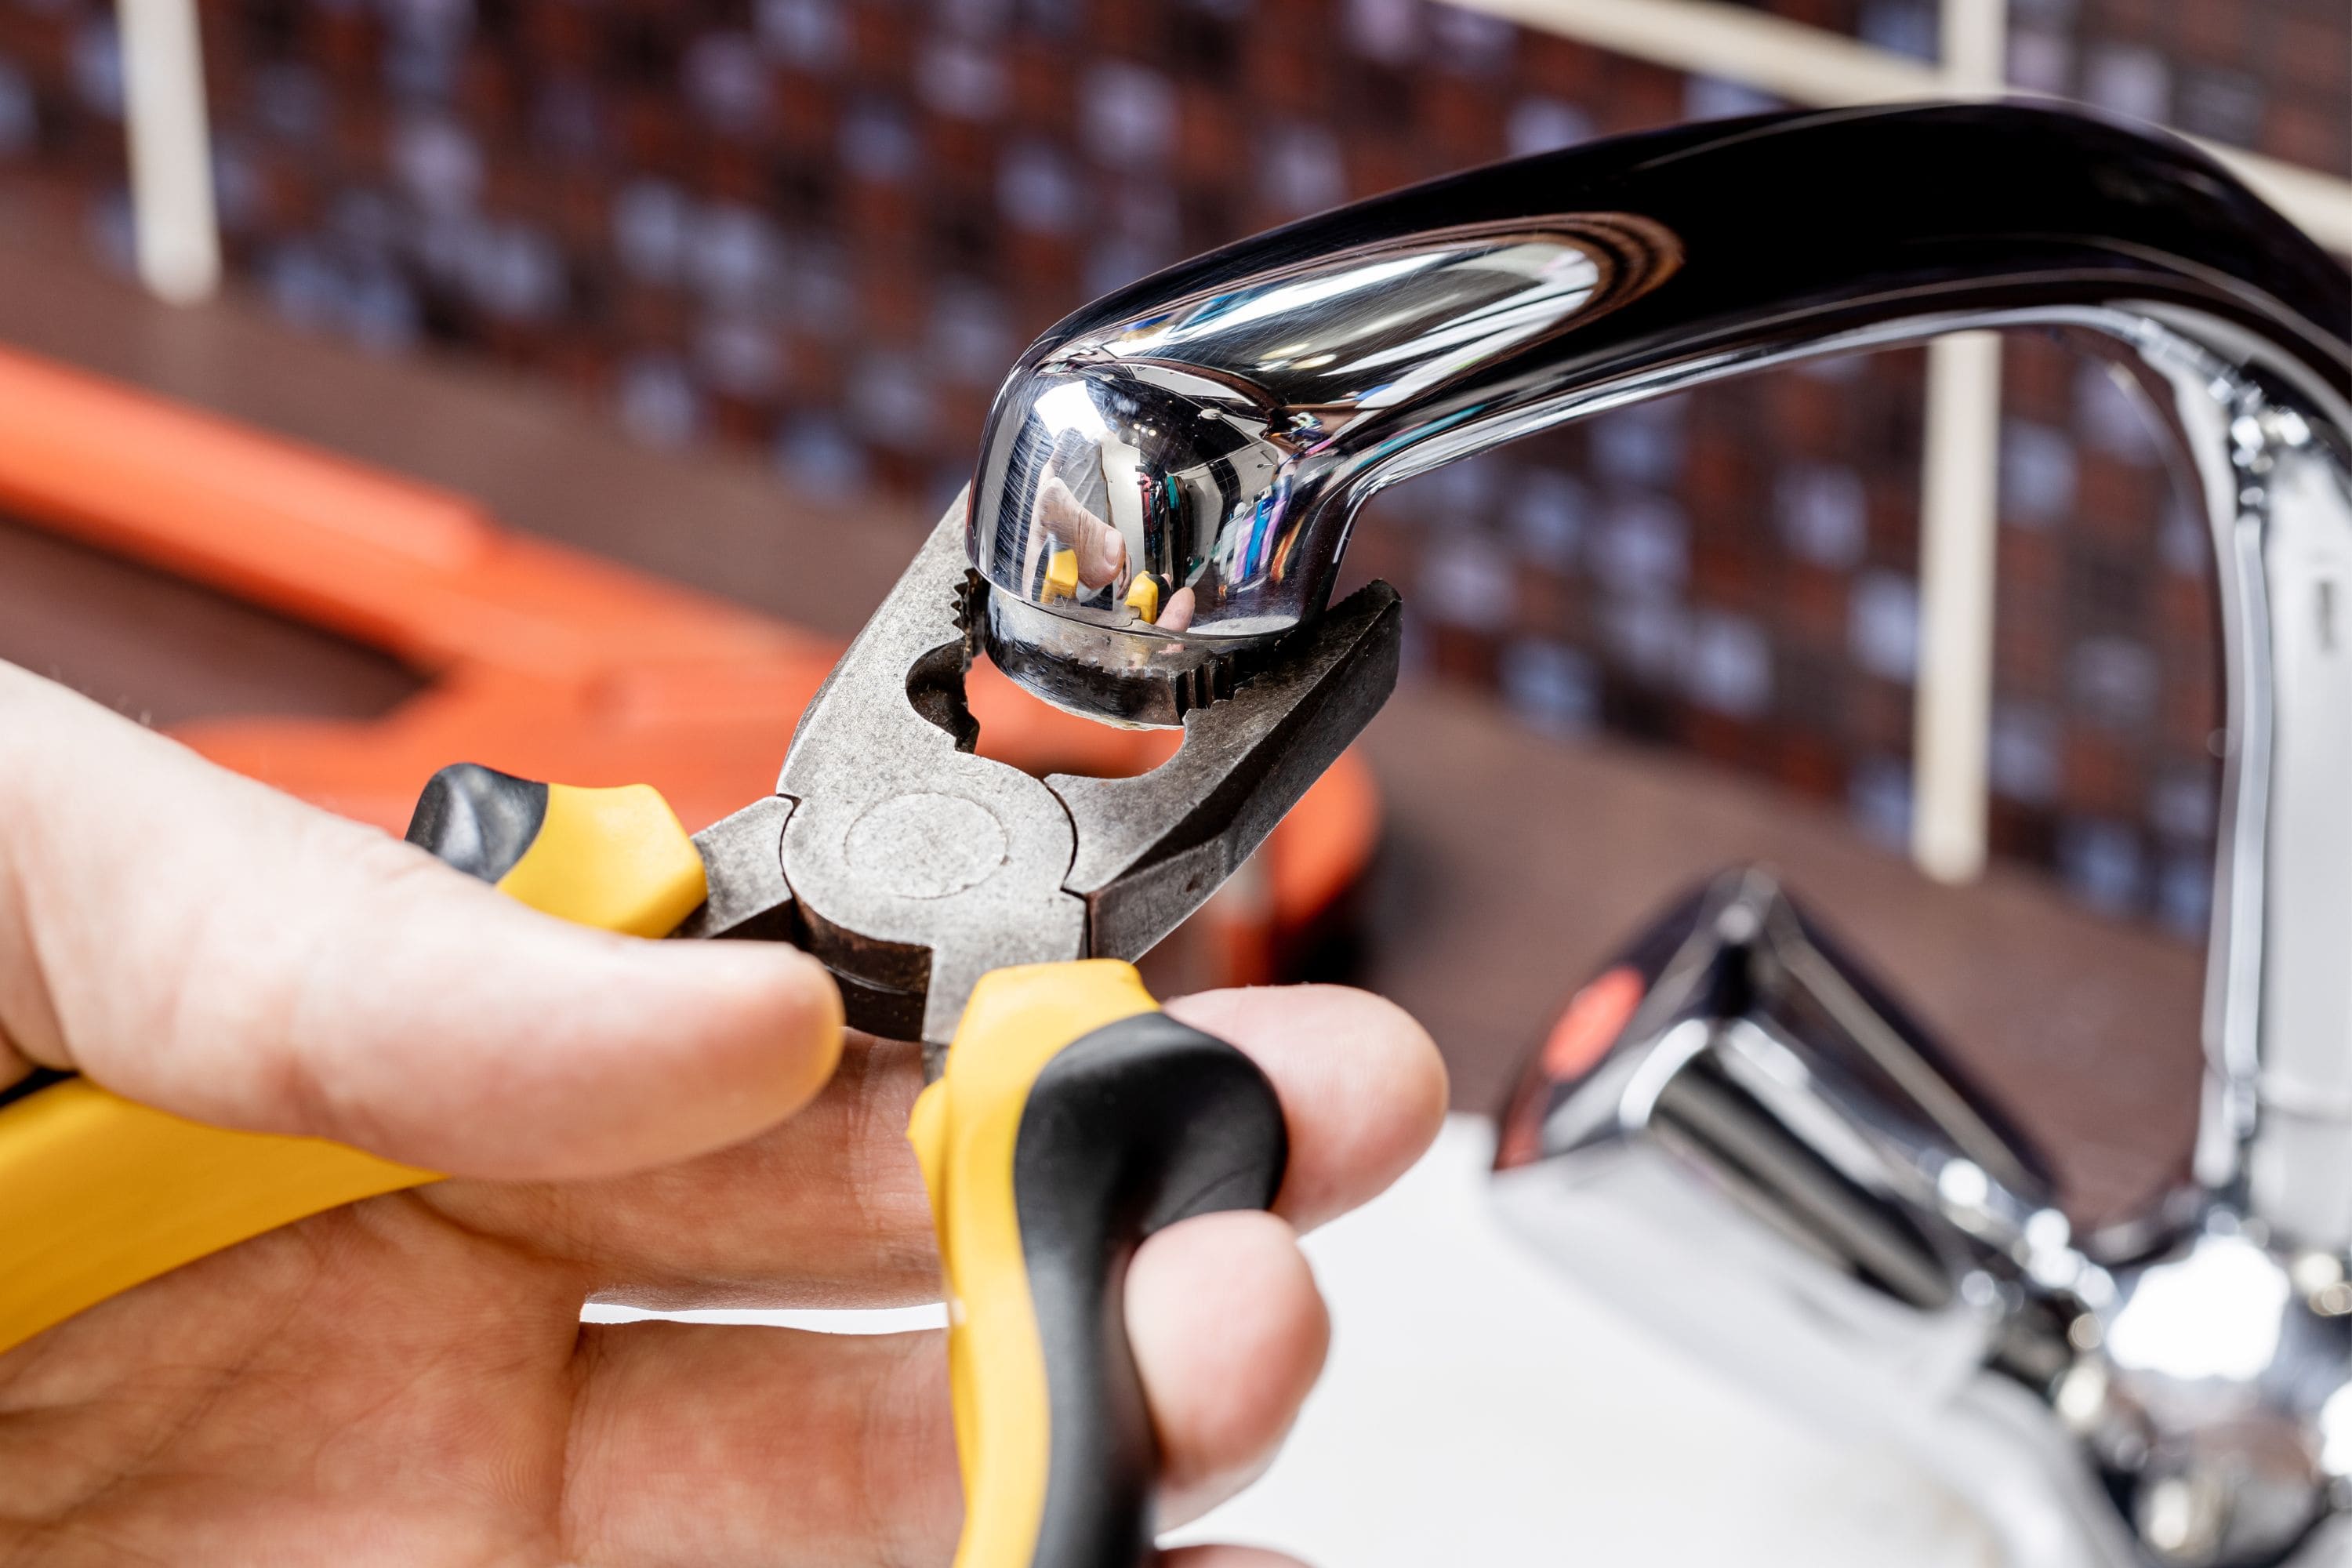
Use a screwdriver or allen key to remove the tap handle. Depending on the type of tap, you may need to remove a decorative cap or cover to access the screw. Once the handle is off, you’ll see the valve or cartridge assembly.
Step 3. Inspect and replace washers or cartridges
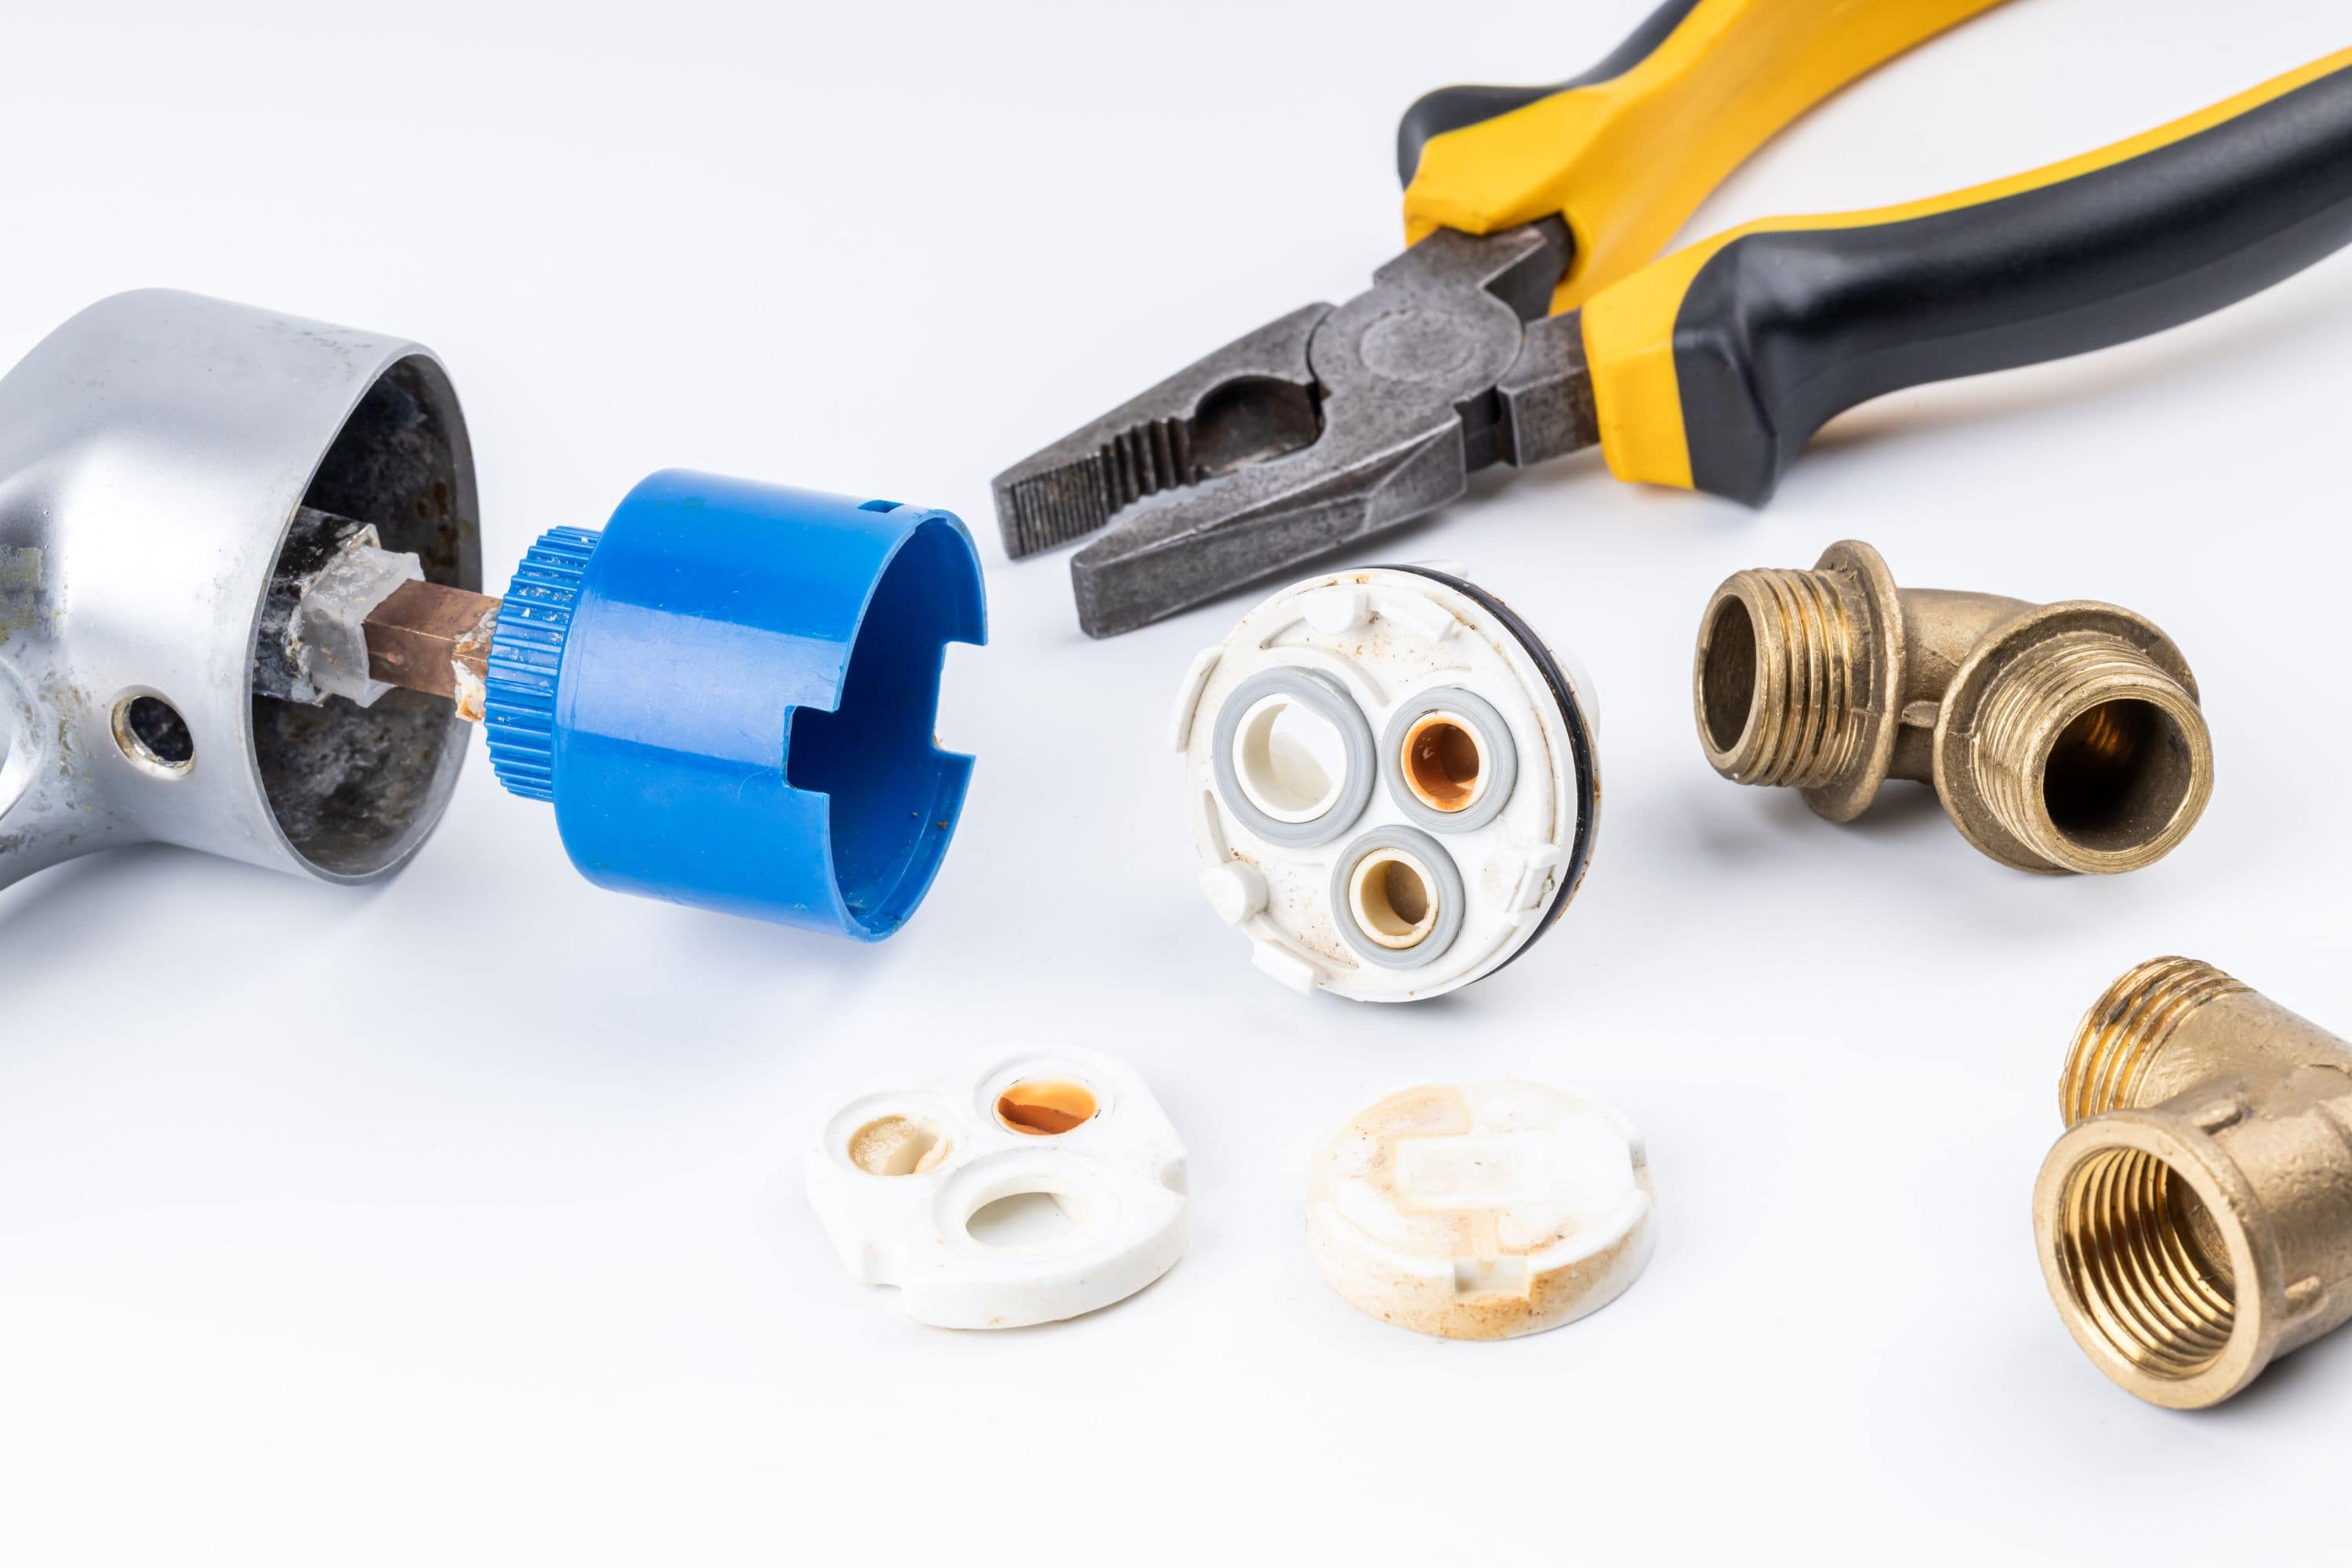
Examine the washers or cartridges for signs of wear, damage, or corrosion. If you have a traditional tap, you may find a rubber washer at the base of the valve seat. Replace it if it appears worn out or damaged. For cartridge taps, you may need to replace the entire cartridge if it’s faulty.
Step 4. Replace o-rings and seals
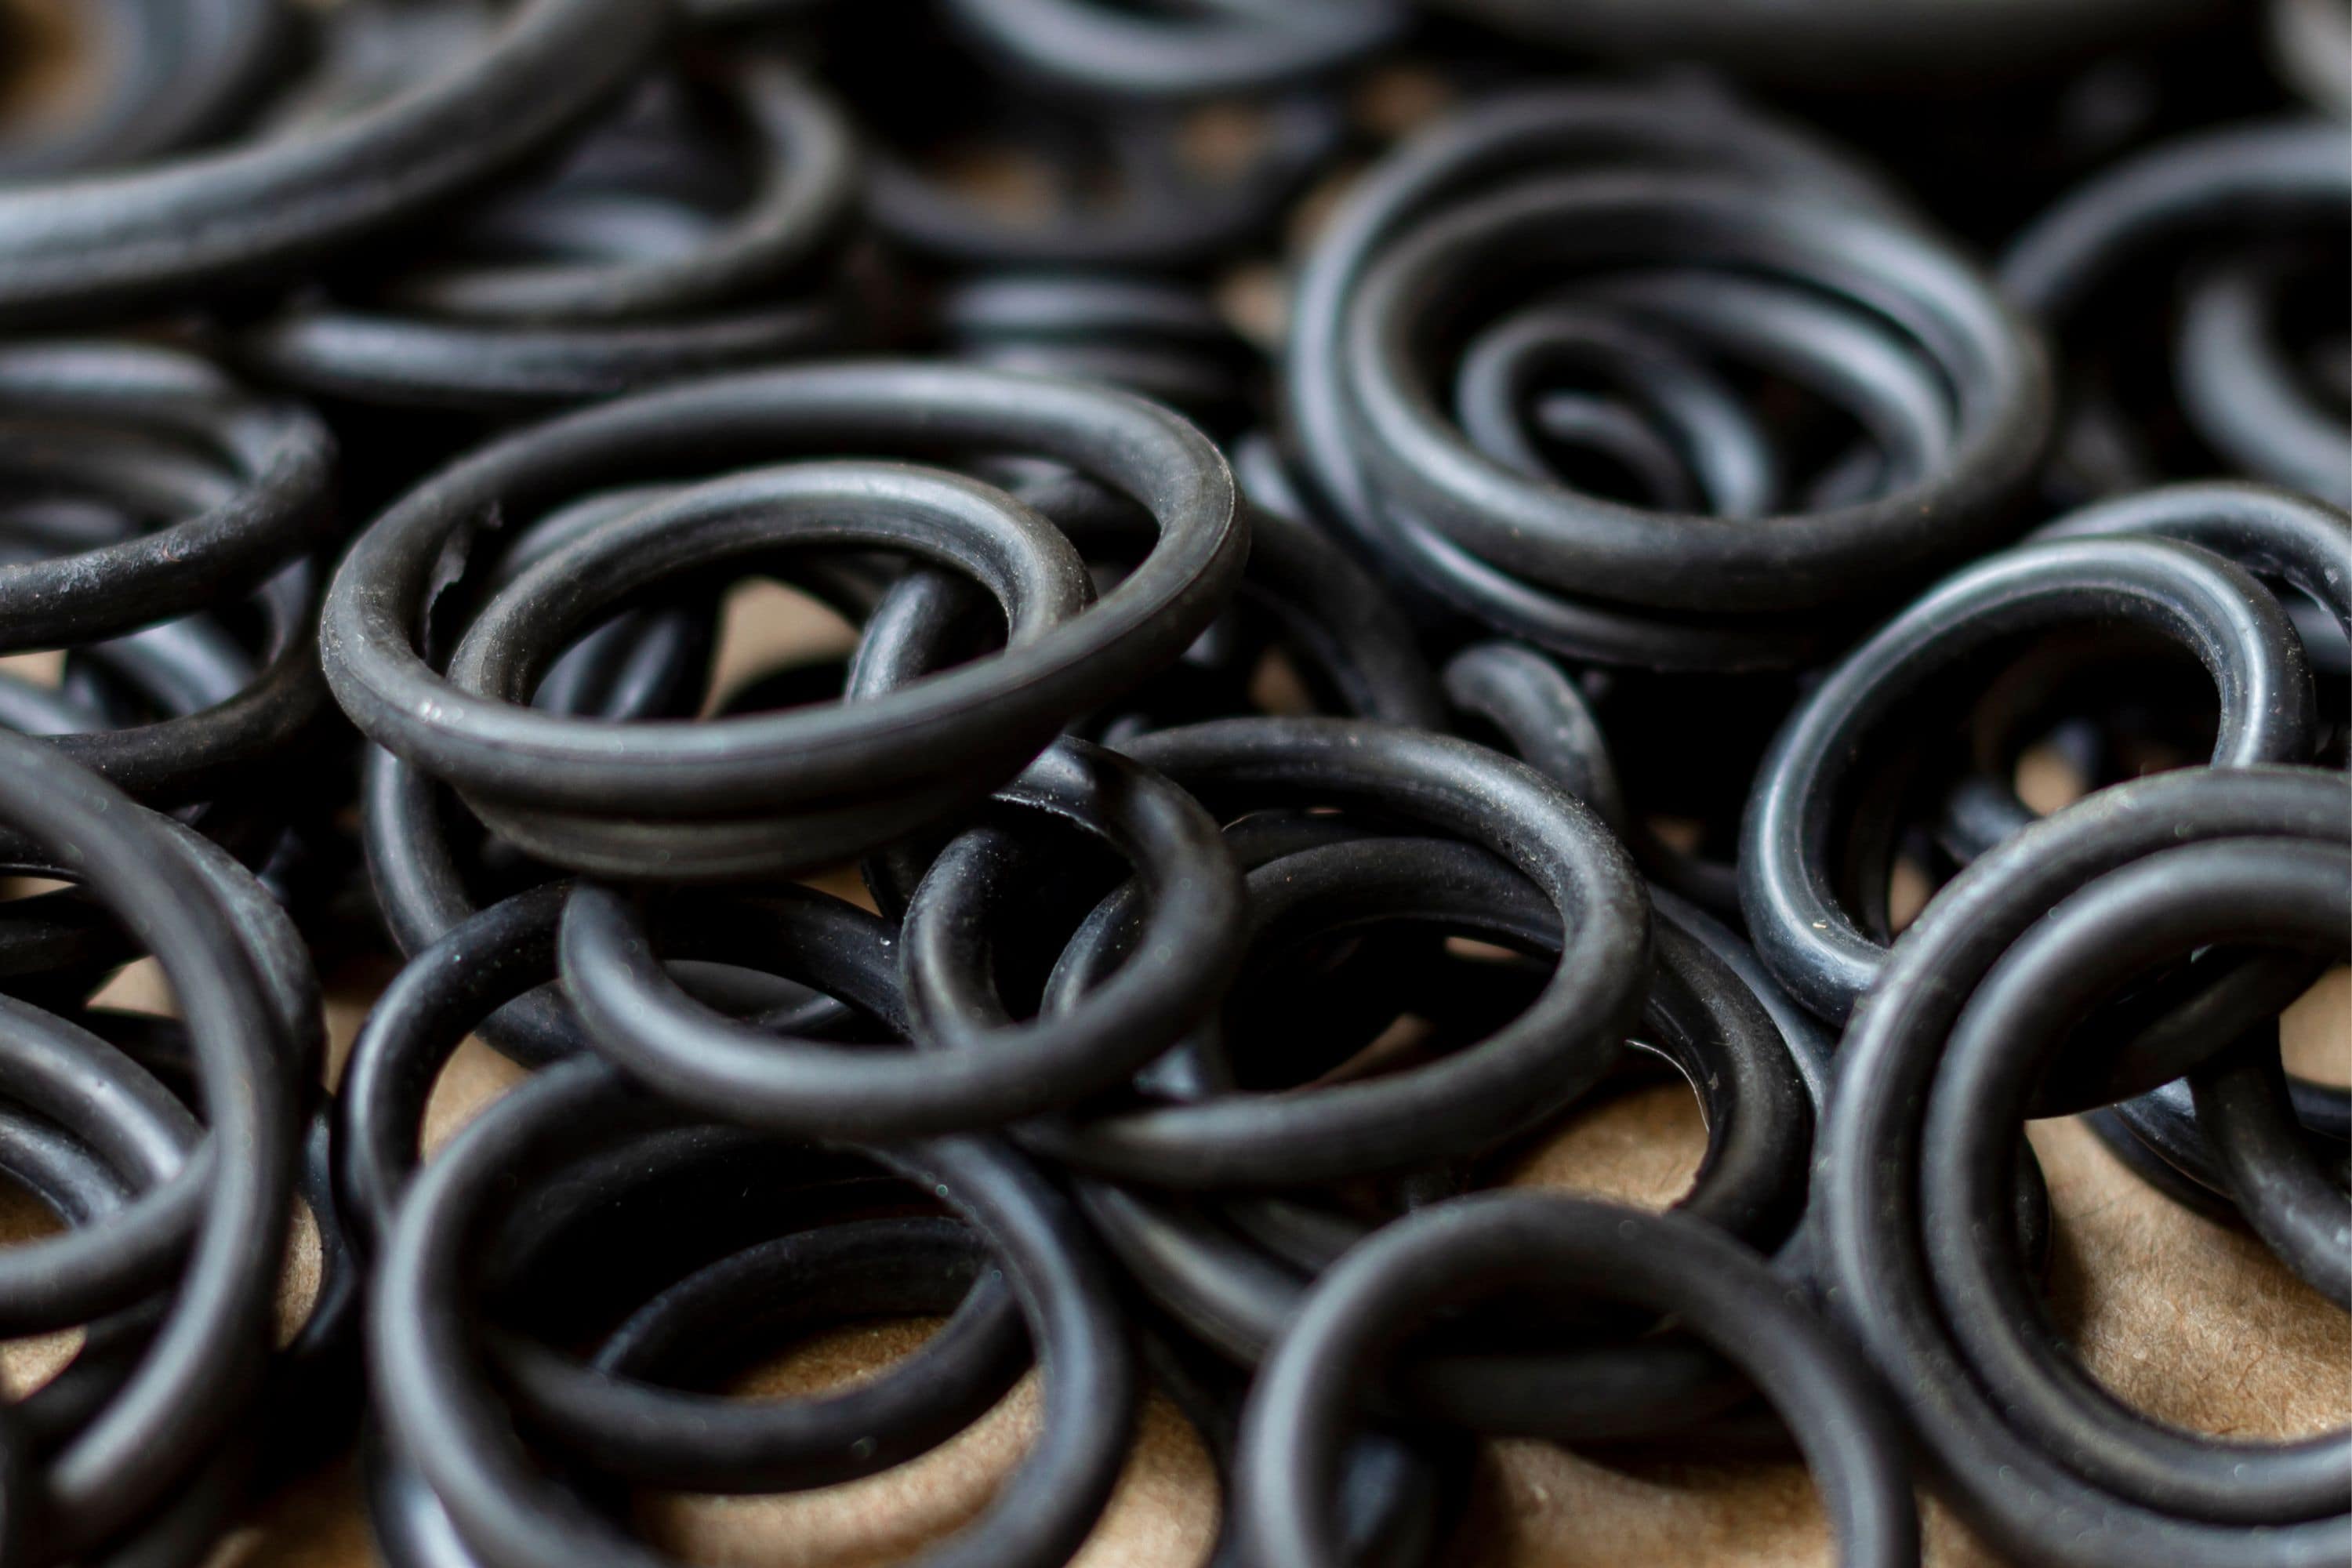
If your tap has o-rings or seals, inspect them for cracks or damage. If needed, carefully remove the old o-rings and replace them with new ones of the same size. Apply a small amount of o-ring lubricant to ensure a smooth operation.
Step 5. Clean and remove any debris
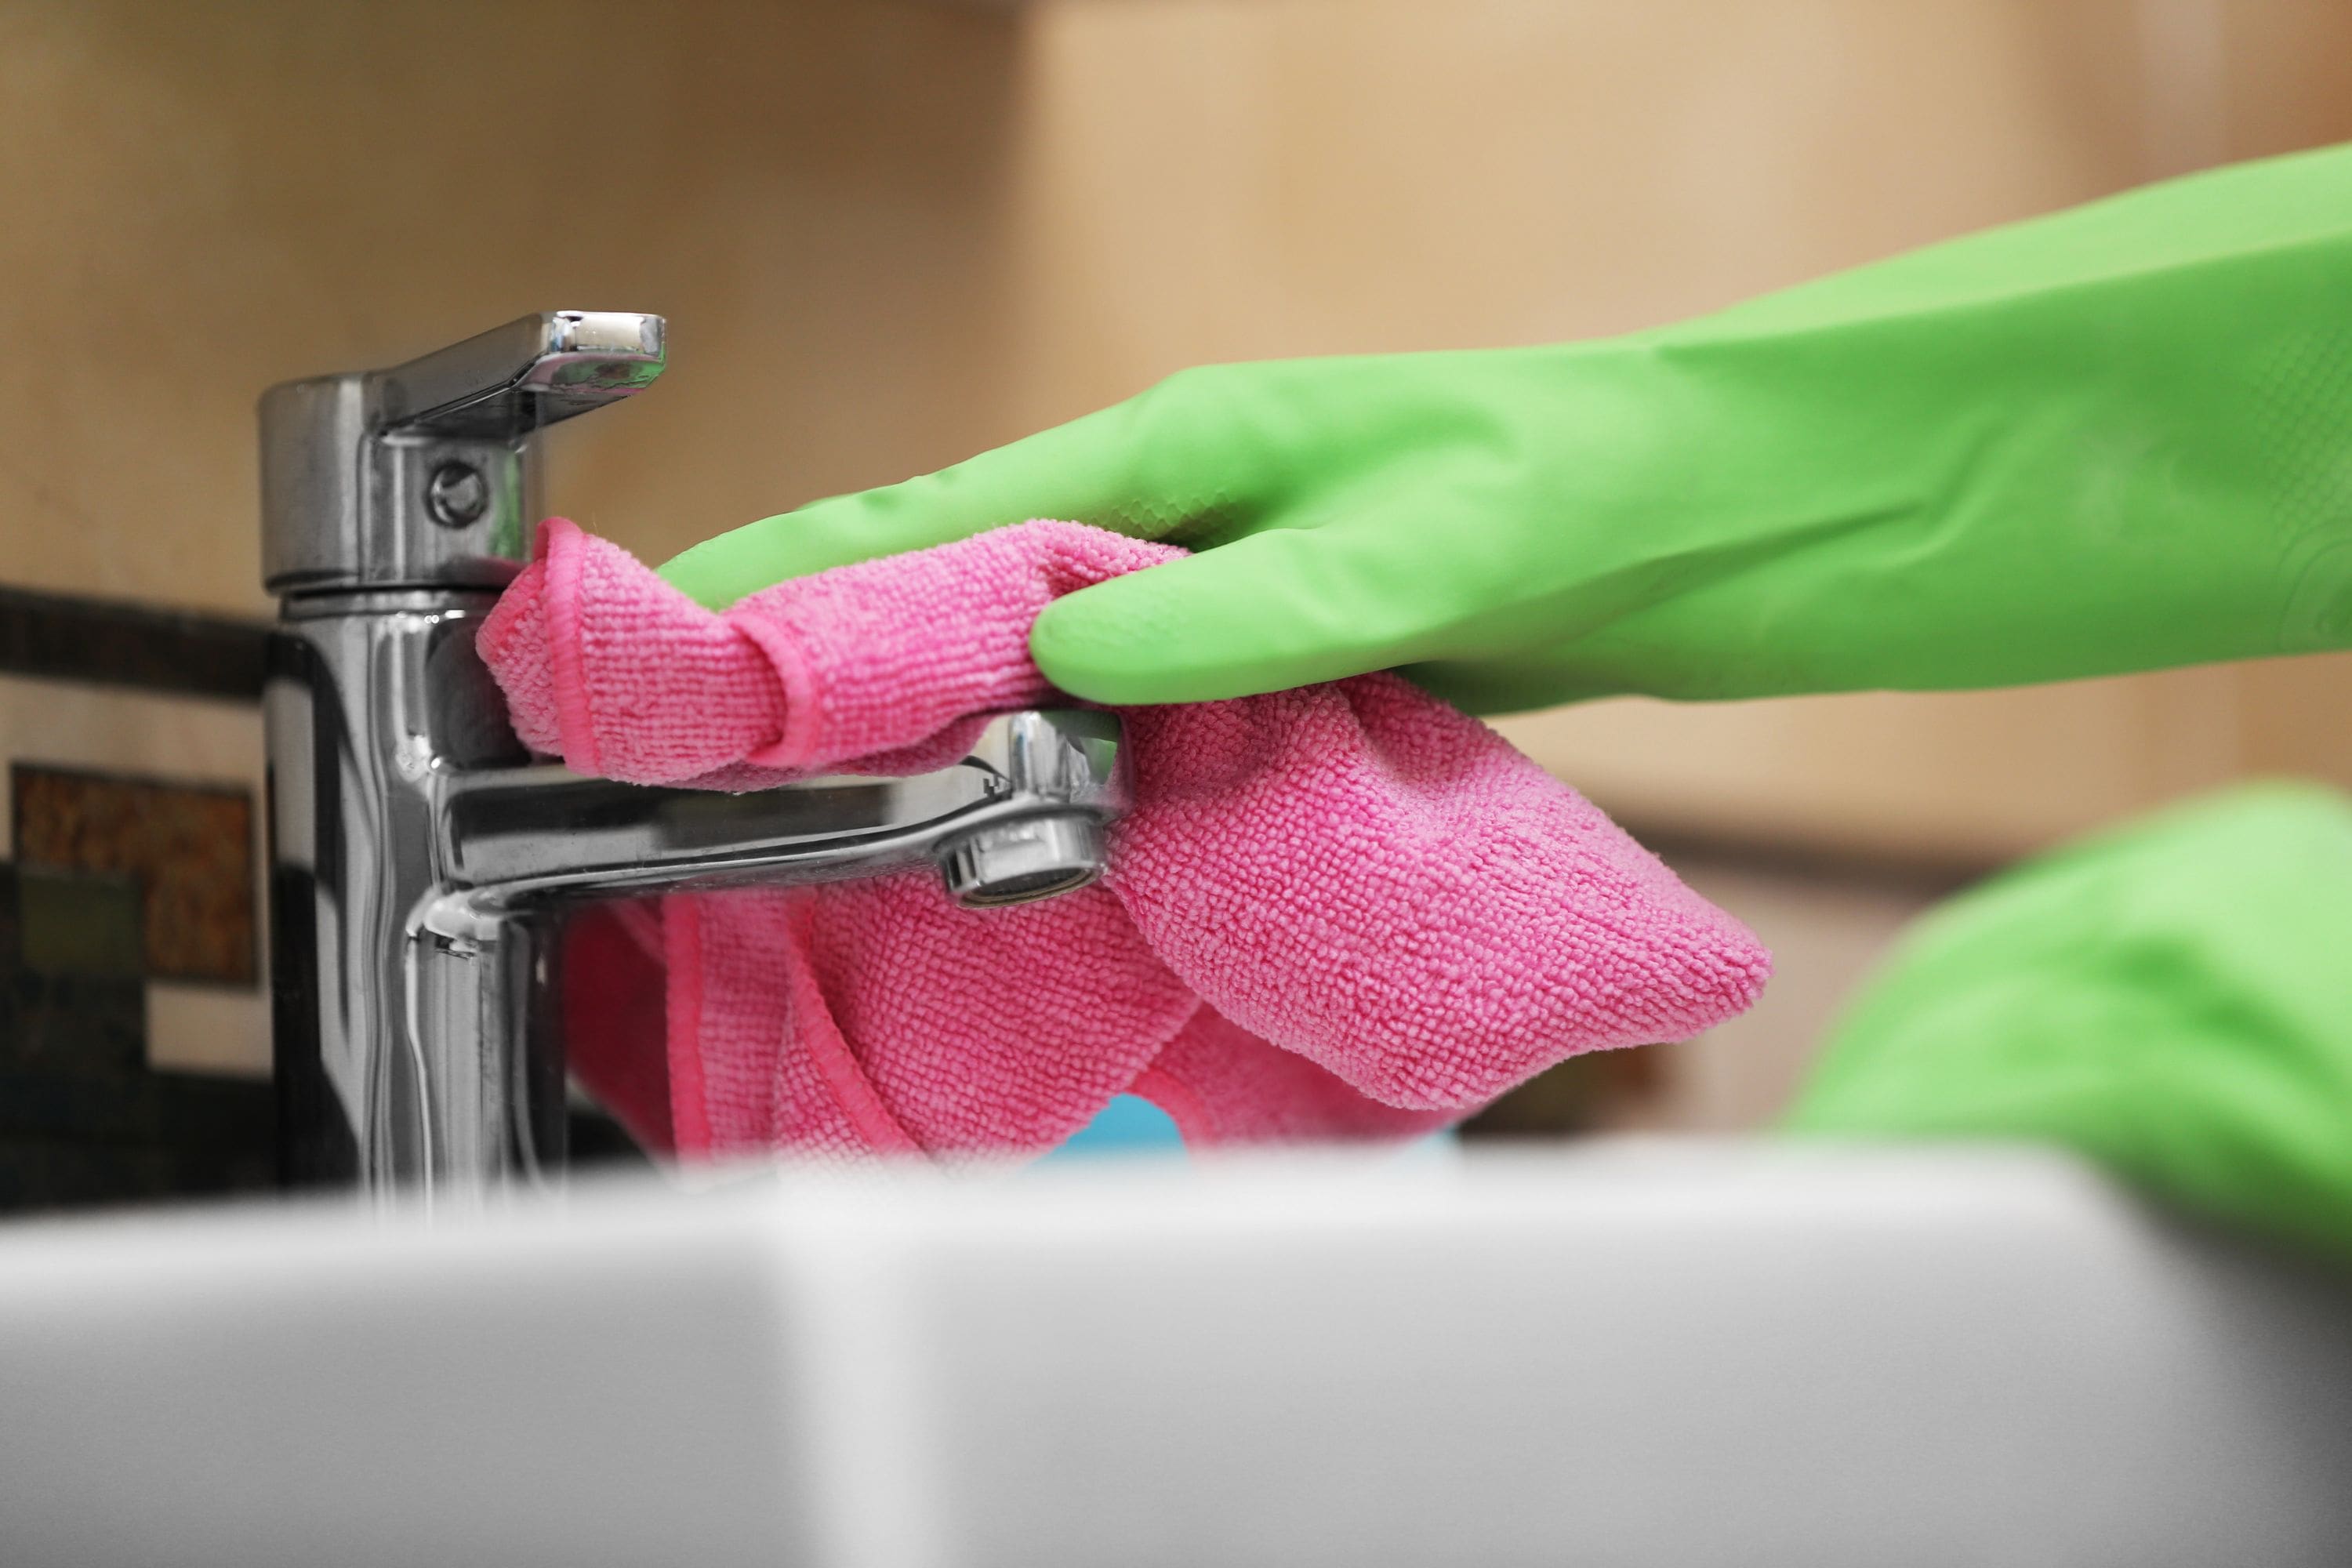
While you have the tap disassembled, use a soft cloth or brush to clean any mineral deposits, sediment, or debris from the internal components. This helps ensure proper functioning and prevents future leaks.
Step 6. Reassemble the tap
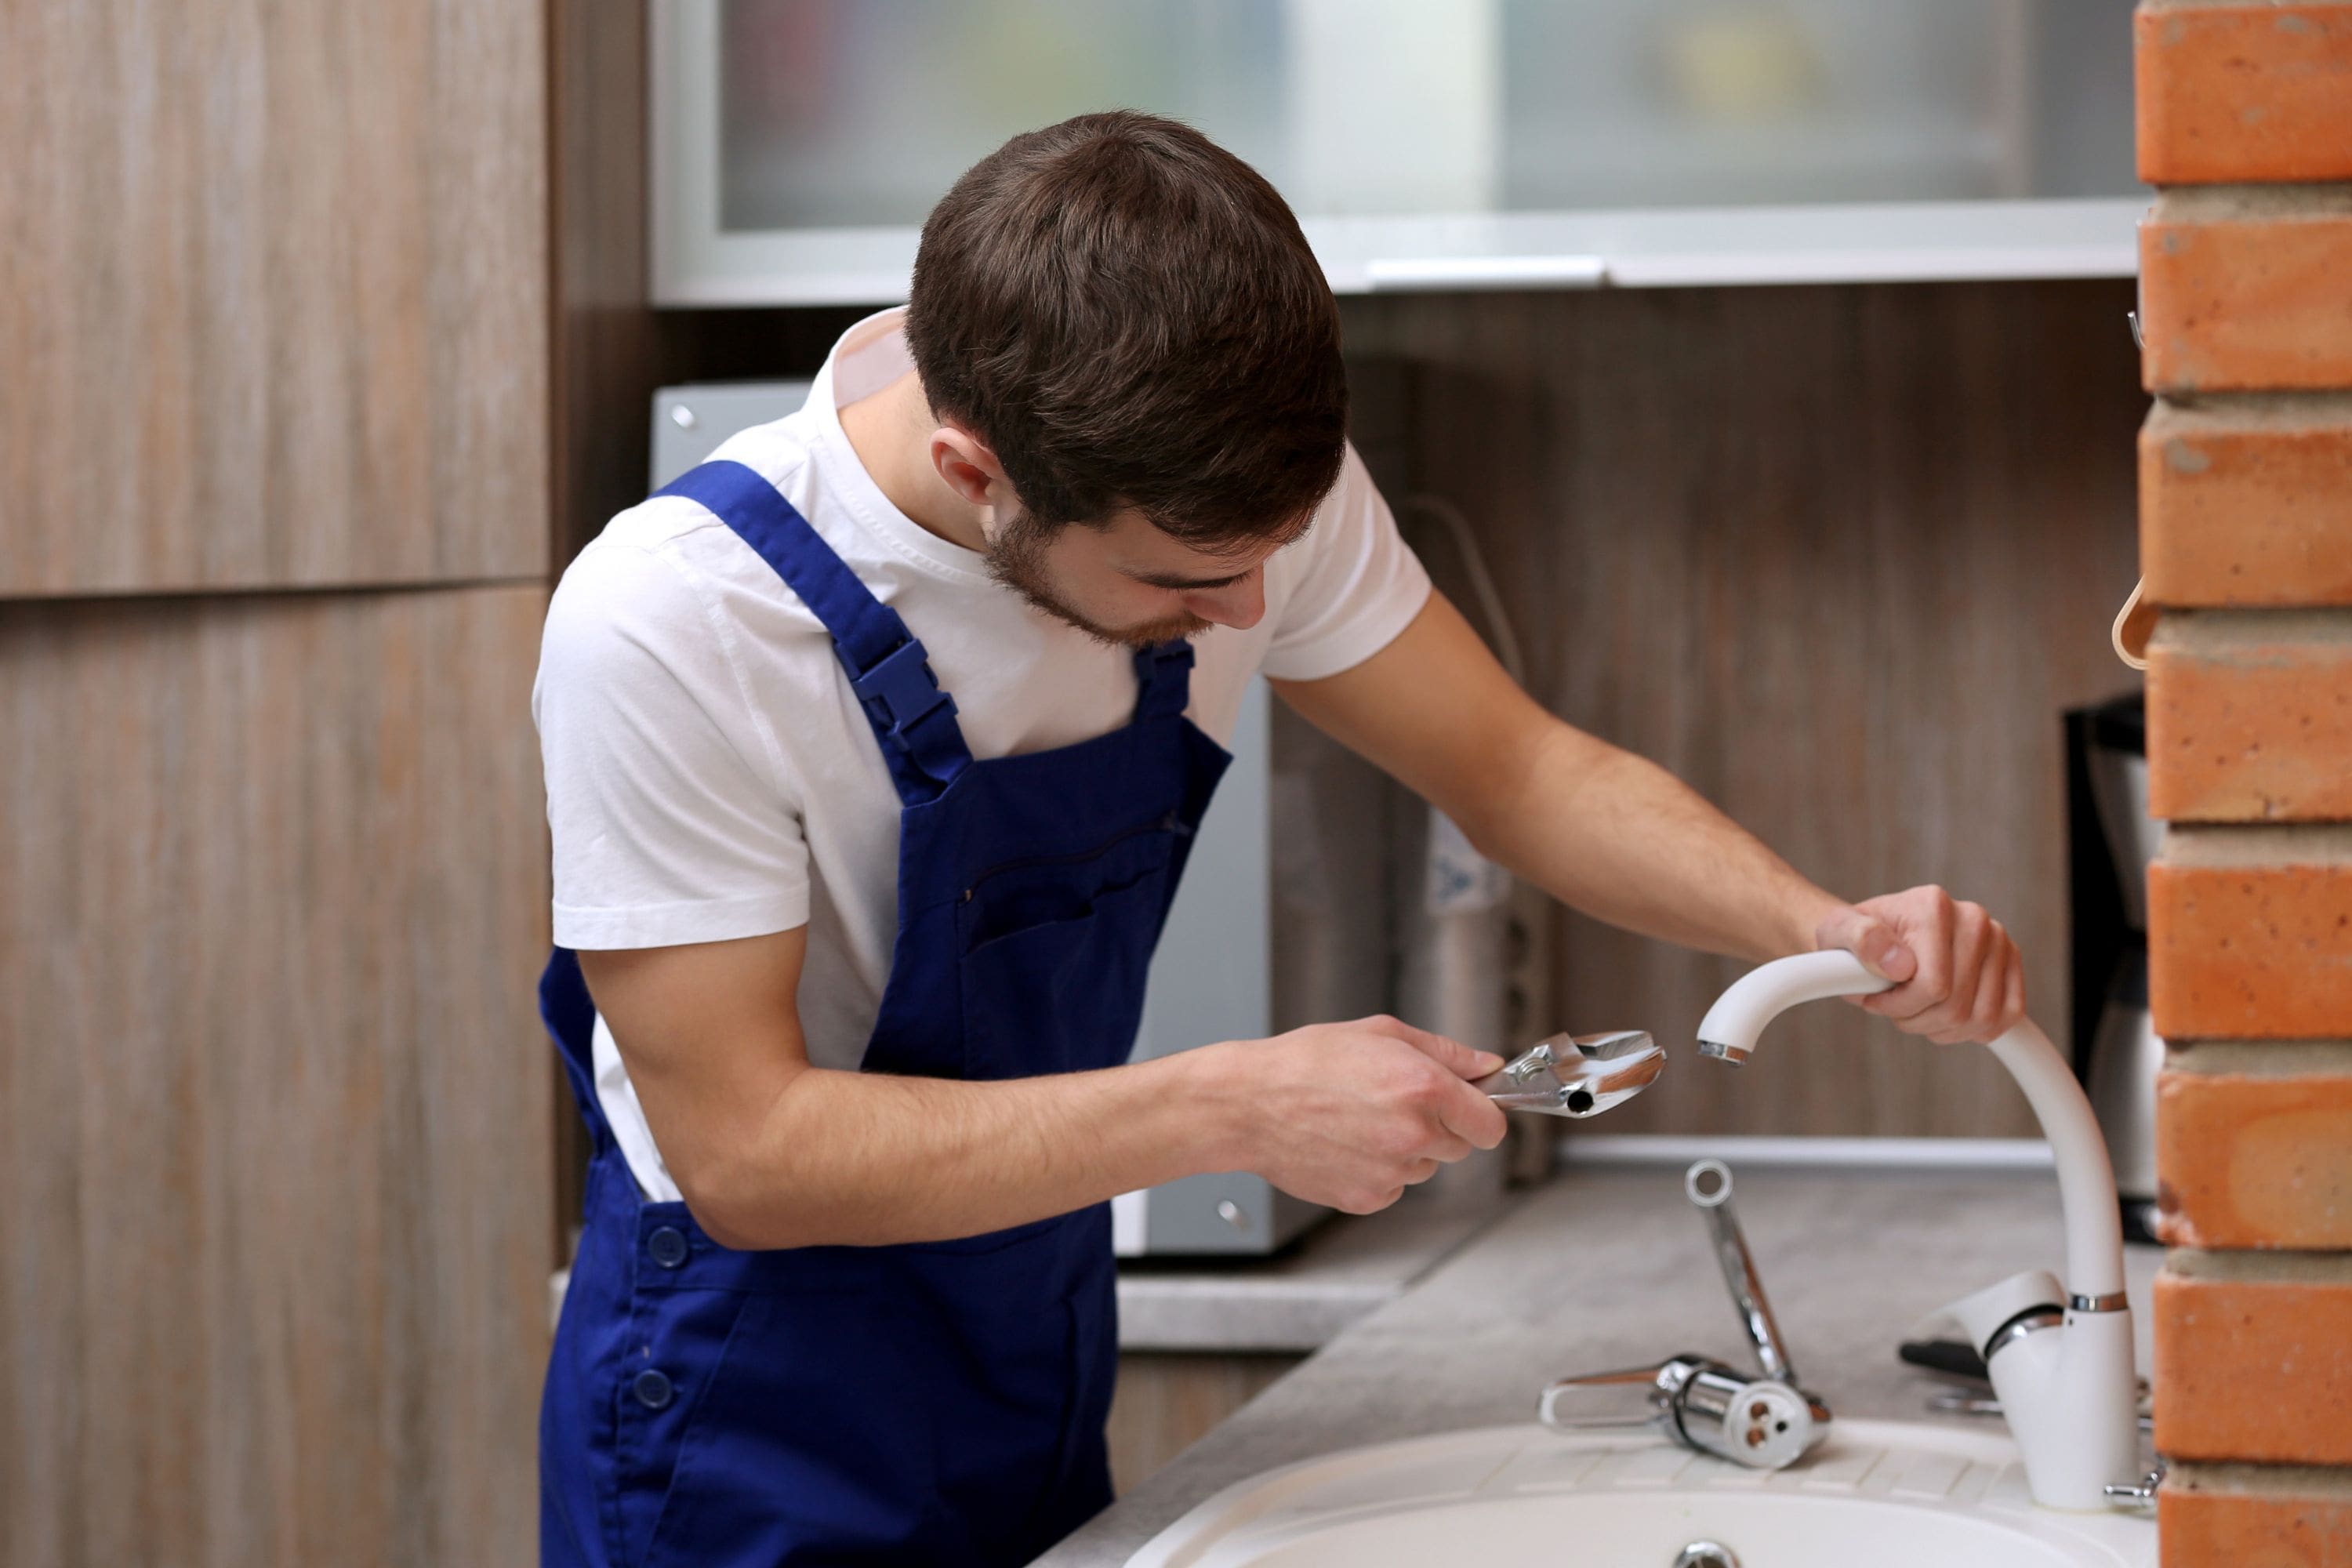
Reverse the disassembly steps to put the tap back together. Tighten the screws securely but be cautious not to overtighten, as it can lead to damage or leaks.
Step 7. Turn on the water supply
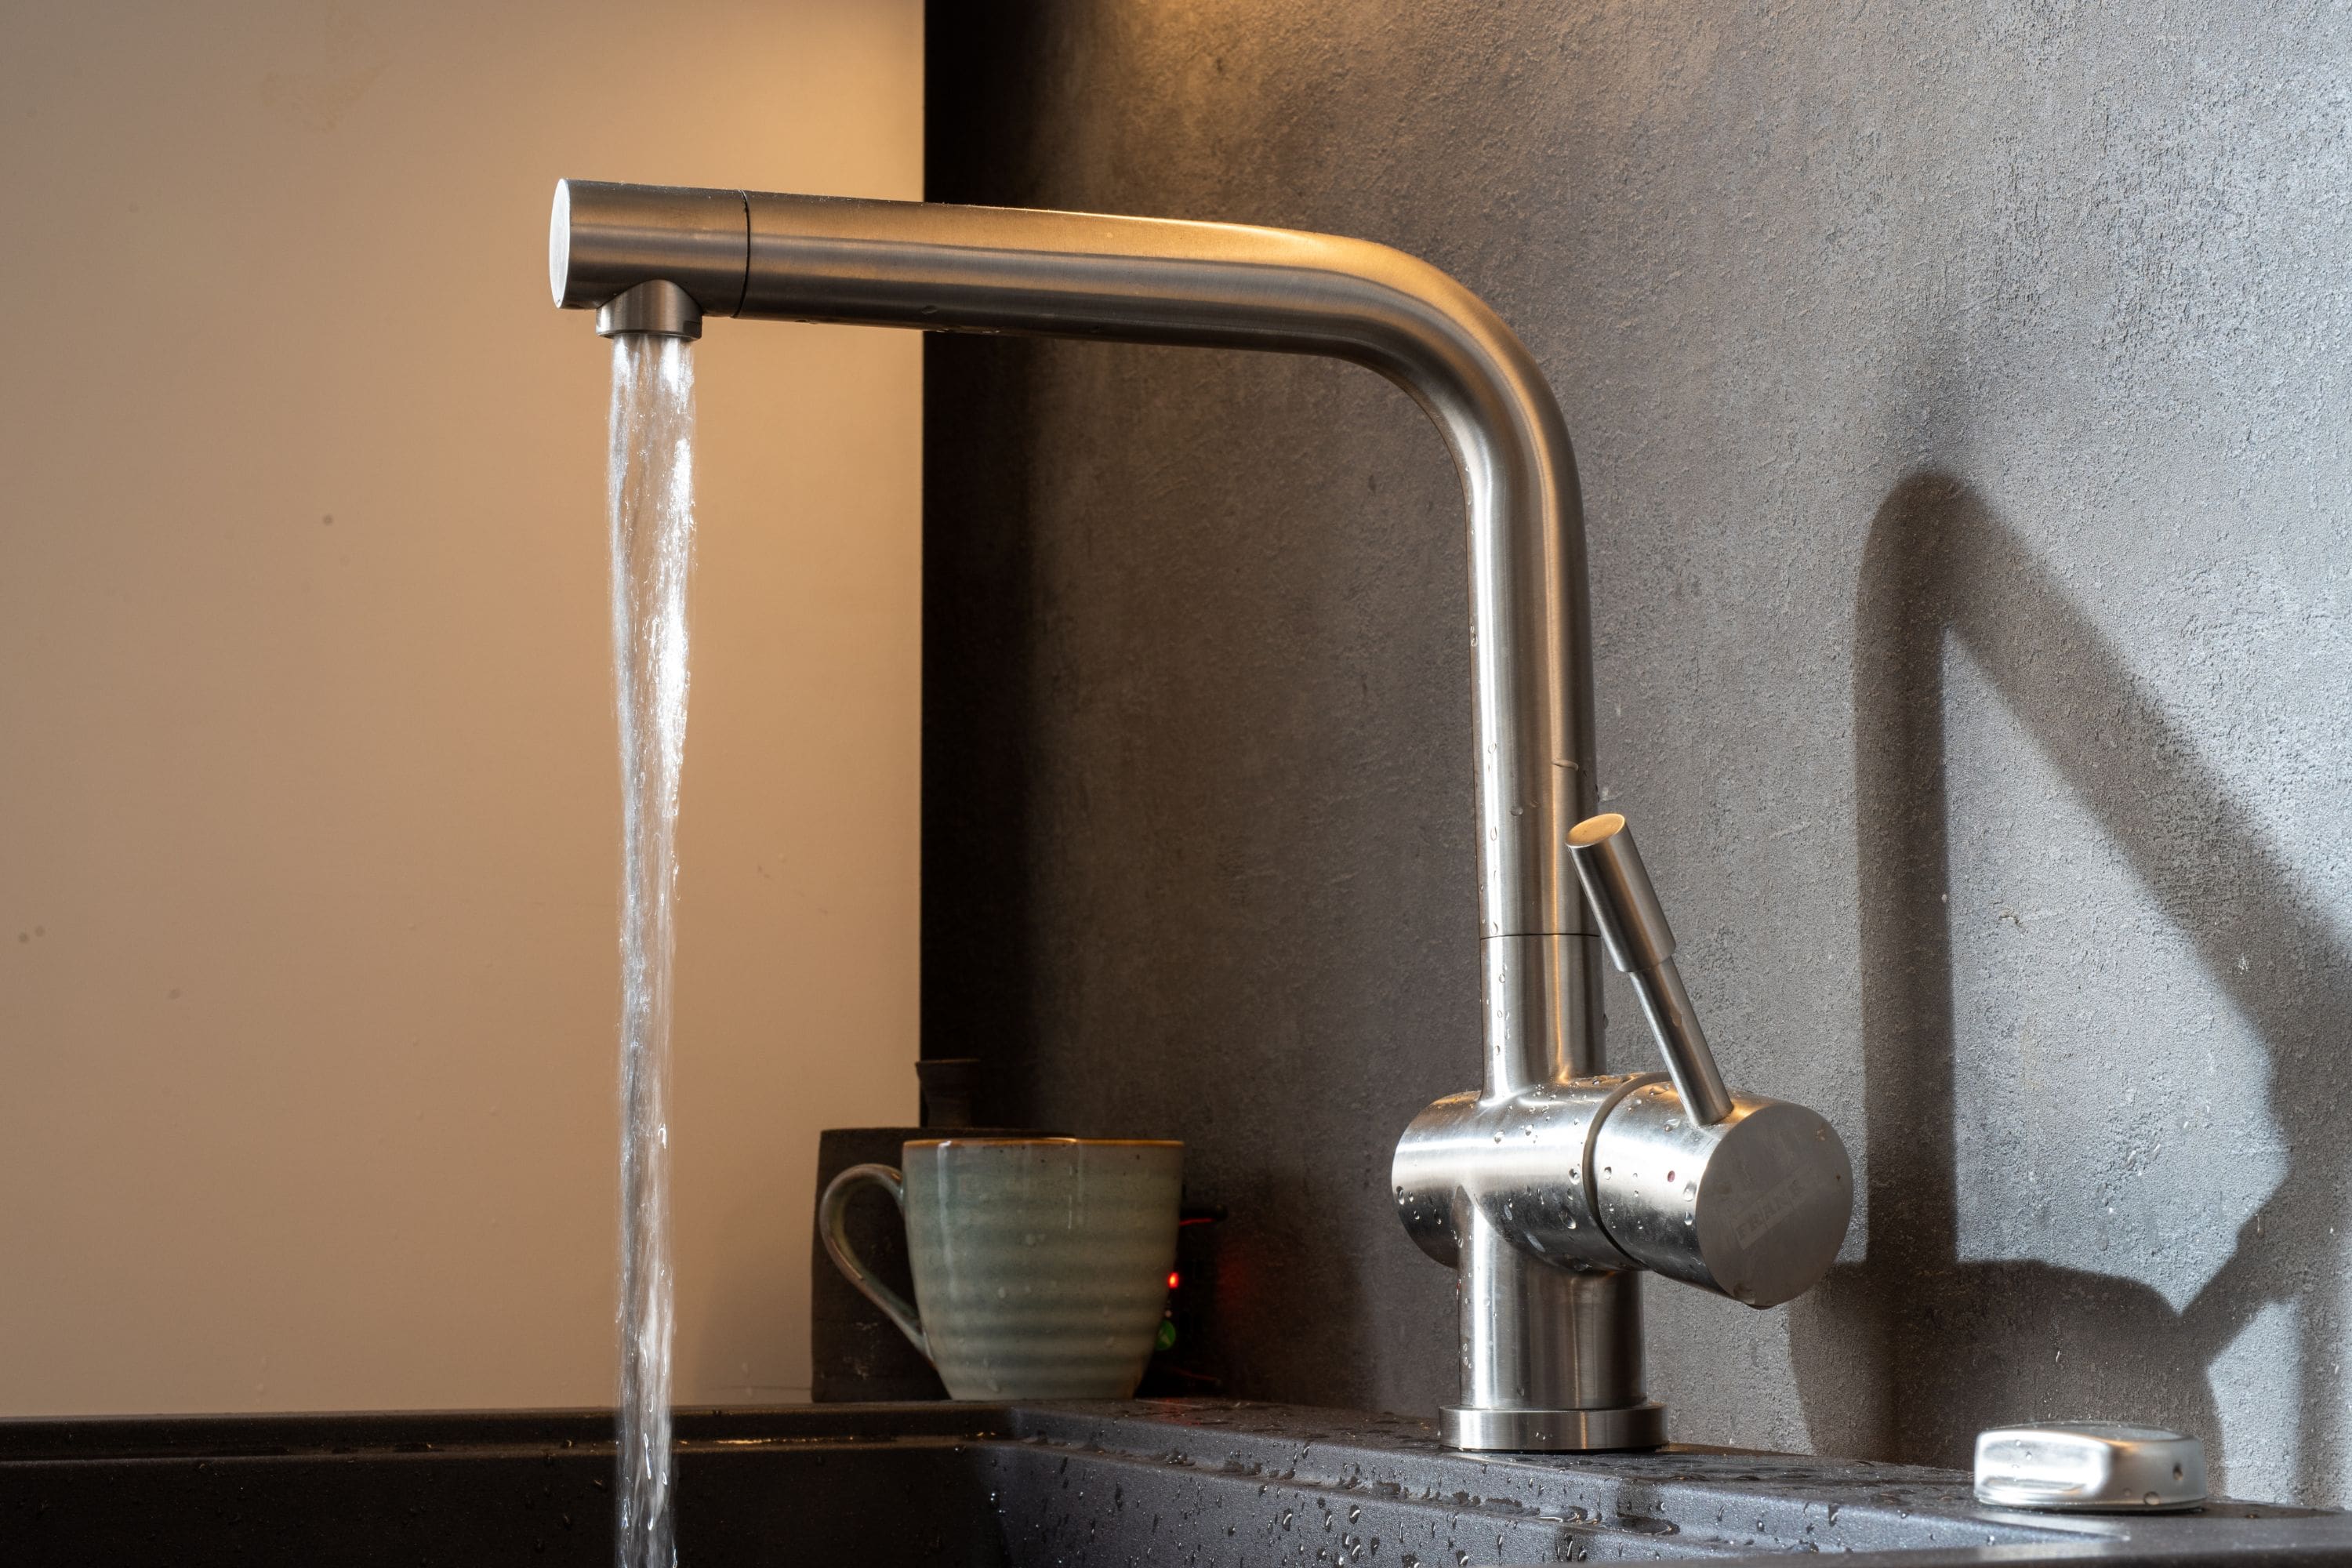
Once everything is reassembled, turn on the water supply gradually and check for any leaks. If there are no leaks, test the tap by opening and closing it to ensure smooth operation.
Let Swan’s take away the stress of fixing a leaking tap
Is your leaking tap still causing you grief? If despite all efforts you are still finding water leaking, it’s time to call in the experts. Don’t wait any longer. The team at Swan’s Professional Plumbing are here to take care of that leaky tap. To book a free call out from a professional plumber, call us on 1300 634 581 or book a service online.
FAQs
If your tap is still leaking after trying to fix it, you may need a professional plumber's help. In this situation, call Swan's Professional Plumbing! We’re well-known throughout Perth for our superior plumbing services and have years of experience in dealing with leaky taps, leak detection and other plumbing services.
We can quickly assess the issue and provide an accurate diagnosis along with an effective solution tailored to the individual needs of each customer. Plus, we take pride in our workmanship with no job being too small or large for us to handle efficiently.
When determining whether you need to replace your taps, there are several factors to consider. Here are some signs that indicate it may be time to replace them:
- Leakage: If your taps are constantly dripping or leaking even after tightening the handles, it could be a sign of worn-out internal components. In such cases, replacing the taps might be necessary.
- Corrosion: Over time, taps can develop corrosion, especially in areas with hard water. If you notice rust or other signs of corrosion on the surface of the taps, it could indicate deterioration. Corroded taps may eventually lead to leaks or difficulties in turning them on and off properly.
- Damage or wear: Inspect your taps for visible signs of damage or excessive wear. Look for cracks, chips, or loose parts. If the handles are loose or wobbly, it might be an indication that the taps need replacement.
- Poor water flow or pressure: If you're experiencing reduced water flow or inconsistent water pressure even after cleaning the aerator and checking the water supply, it could be a sign that the taps themselves are causing the issue. Older taps can accumulate mineral deposits and sediment, impeding water flow.
- Outdated appearance or style: While not necessarily an urgent reason, you might consider replacing your taps if you want to update the aesthetics of your bathroom or kitchen. Newer taps often come in various designs, finishes, and styles, allowing you to achieve a fresh look.
It's worth noting that some minor issues with taps can be resolved through repairs or component replacement, but if the problems persist or your taps are quite old, replacement might be a more practical and long-term solution.
We recommend carrying out an annual plumbing health check once a year. At Swan's Professional Plumbing, we ensure that our members don't have to worry about complicated and expensive plumbing repairs. With our free annual health check, we make sure all your pipes flow smoothly - from inspecting taps for potential leaks before they become a problem to ensuring no funky odours in the shower! Let us take care of everything so you can breathe easy knowing your home is well-maintained.

