Dealing with a leaking shower head can be both frustrating and wasteful. Not only does it lead to annoying drips and potential water damage, but it can also result in higher water bills. Fortunately, fixing a leaking shower head is often a straightforward task that can be tackled with basic tools and a little know-how. In this guide, we’ll walk you through the steps to help you identify the cause of the water leak and provide simple solutions to resolve it.
Remember, if at any time you don’t feel comfortable working on your dripping shower head, the team at Swan’s Professional Plumbing is here to help!
What are the common causes of a leaking shower head?
Before you start attempting to fix a leaky shower head, it’s important to work to identify the cause. Here are some common causes:
- Loose connections: If the connections between the shower head and the shower arm are loose, water can leak out.
- Worn-out washers or O-rings: Over time, the rubber washers or O-rings inside the shower head can degrade, causing leaks.
- Mineral deposits: Mineral deposits from hard water can accumulate inside the shower head, obstructing the flow of water and causing leaks. Cleaning the shower head with vinegar or a commercial descaling solution regularly can help remove these deposits.
- Damaged diverter valve: The diverter valve controls the flow of water between the shower head and the spout. If the diverter valve is damaged or worn, it may not fully close, leading to water leakage.
- Cracked or damaged shower head: Physical damage to the shower head, such as cracks or breaks, can cause leaks.
- High water pressure: Excessively high water pressure can put strain on all plumbing fixtures, including the shower head, leading to leaks.
Did you know? All members of Swan’s Professional Plumbing receive a FREE annual plumbing health check. Prevent a leaking shower head by booking yours today!
How to fix a leaking shower head
Now that you’ve identified some of the common causes, here are some things you can do to stop the leaking shower depending on what the identified cause of the leaky shower is.
Loose Connections
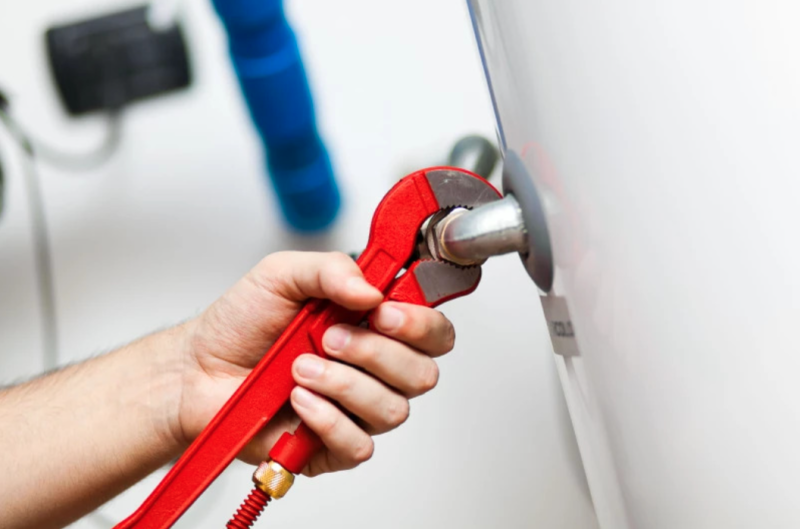
If you suspect a loose connection somewhere. Use a wrench to tighten the connections between the shower head and the shower arm. Be careful not to overtighten, as this could damage the threads.
Worn-out washers or o-rings
Disassemble the shower head to inspect the washers or O-rings, replacing any worn-out or damaged ones with new ones, and then reassemble the shower head, ensuring all connections are tight.
Mineral deposits
In Perth, hard water build up is a common plumbing issue. Remove the shower head from the shower arm, soak it in vinegar or a commercial descaling solution for several hours or overnight to dissolve mineral deposits, scrub away any remaining deposits with a brush or toothbrush, and thoroughly rinse the shower head with water before reattaching it to the shower arm.
Damaged diverter valve
To address a damaged diverter valve, start by shutting off the water supply to the shower, then remove the diverter valve handle and trim plate to access the valve. Next, replace the diverter valve with a new one of the same type and size. Reassemble the diverter valve, handle, and trim plate, and finally, turn the water supply back on to test for leaks.
Cracked or damaged shower head
If your shower head is cracked or damaged, the only solution is most likely to replace the entire shower head. To change your existing shower head, turn off the water supply, unscrew the old shower head, clean the shower arm, apply plumber’s tape to the threads, and then install the new shower head per the manufacturer’s instructions. Finally, turn the water back on and check for leaks. If you are unsure on how to replace your shower head or if you want to change up the style of shower head, don’t hesitate to reach out to our plumbers for expert installation.
Water pressure is too high
If the water pressure is too high and causing the shower head to leak, you can install a pressure-reducing valve in the water line leading to the shower. This valve will regulate the water pressure and prevent excessive pressure from damaging the shower head. Alternatively, if possible, adjust the water pressure at the main supply. Lowering the water pressure can help prevent strain on the plumbing fixtures and reduce the risk of leaks.
Not sure what the cause of your leaking shower head is?
Sometimes the cause of your leaking shower head isn’t so obvious. If that’s the case don’t hesitate to get in contact with the team at Swan’s Professional Plumbing. Leaking showers are a common problem that we regularly attend to. Our experienced plumbers can diagnose the issue accurately and provide expert solutions to ensure your shower functions perfectly. Don’t let a leaky shower disrupt your day. Our Perth plumbers are here to help!
FAQs
How often you need to replace a shower head can vary depending on several factors, including the quality of the shower head, the water quality in your area, and how often it's used. In general, a high-quality shower head can last anywhere from 5 to 10 years or more with proper care and maintenance. However, if you notice signs of wear and tear such as leaks, reduced water flow, or corrosion, it may be time to replace it sooner. If you’re ever unsure, one of our plumbers is more than happy to advise you on this during your free annual plumbing health check.
Cleaning a shower head is relatively simple and can help improve water flow and pressure. Here's a basic step-by-step guide to cleaning a shower head:
- Remove the shower head: If possible, unscrew the shower head from the shower arm. If it's difficult to remove, you can still attempt to clean it while it's still attached.
- Soak in vinegar: Fill a plastic bag or container with white vinegar. Submerge the shower head in the vinegar, ensuring that the nozzles are completely covered. Let it soak for several hours or overnight to dissolve mineral deposits and grime.
- Scrub the nozzles: After soaking, use an old toothbrush or a small brush to scrub the nozzles and remove any remaining debris. You can also use a toothpick to dislodge stubborn buildup.
- Rinse thoroughly: Once the shower head is clean, rinse it thoroughly with water to remove any vinegar residue.
- Reattach the shower head: If you removed the shower head, screw it back onto the shower arm. Make sure it's securely attached.
- Test the water flow: Turn on the water and check the water flow to ensure that the shower head is functioning properly.
If you’ve got a fair amount of hard water deposits or debris built up, you may have a hard time clearing it yourself. In this instance, don’t hesitate to call a professional plumber for further advice.
If the shower head leaks again shortly after fixing it, despite your efforts, it might indicate another underlying issue that needs diagnostics with specialised equipment from a local plumber. At Swan’s Professional Plumbing, our plumbers can diagnose the root cause of any recurring leak and provide a lasting solution to ensure your shower functions properly.


